All newly configured Git projects will automatically have non-sensitive variables migrated when converting the project to Git. For existing Git projects, you will need to migrate these manually.
We recommend migrating your variables to Git as soon as practical. We will continue to support Git projects with variables that haven’t been migrated for now, but we will remove support for this at some point in the future.
This document covers the process of migrating variables to Git. You will need to migrate the variables for each existing Git project separately.
Preparing to migrate
Check that all secrets are marked as sensitive
All non-sensitive values will be written to your Git repository in plain text during the migration. Before migrating, ensure that you do not have any secret values that are not stored as sensitive variables.
If you can view a value on the variables page (and it’s not shown as a password field) or retrieve the value from the API, it’s not marked as sensitive and will be written to the variables.ocl file.
Coordinate with your team
After you have run the migration, you will be unable to read variables from any Git reference (branch, tag, or commit) that does not contain a valid variables.ocl file. This will cause failures when viewing and editing variables, creating releases, and running runbooks using those references until they’re updated.
The migration process only writes the variables to a single branch. To continue using variables in any other branches, you will need to merge that migration branch with your other branches to continue using them in Octopus. If this may disrupt your team, plan ahead and find a suitable time to migrate and merge.
Running the migration
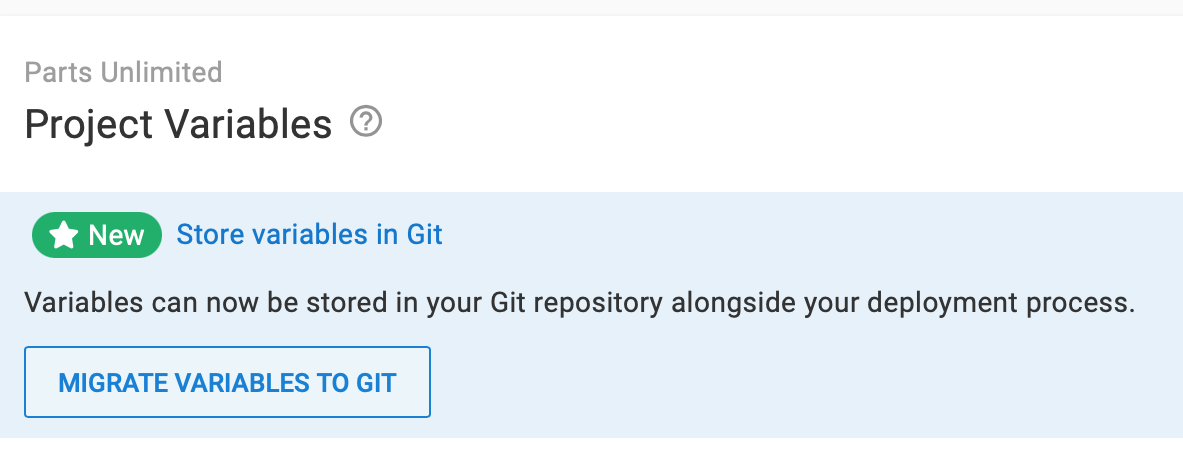
The migration process is simple, and we’ve built a helpful wizard to guide you through it. If this feature is available in your instance and you have a project that does not yet have variables in Git, you will see this banner on the project variables page.

Clicking the Migrate Variables To Git button will open the migration wizard.
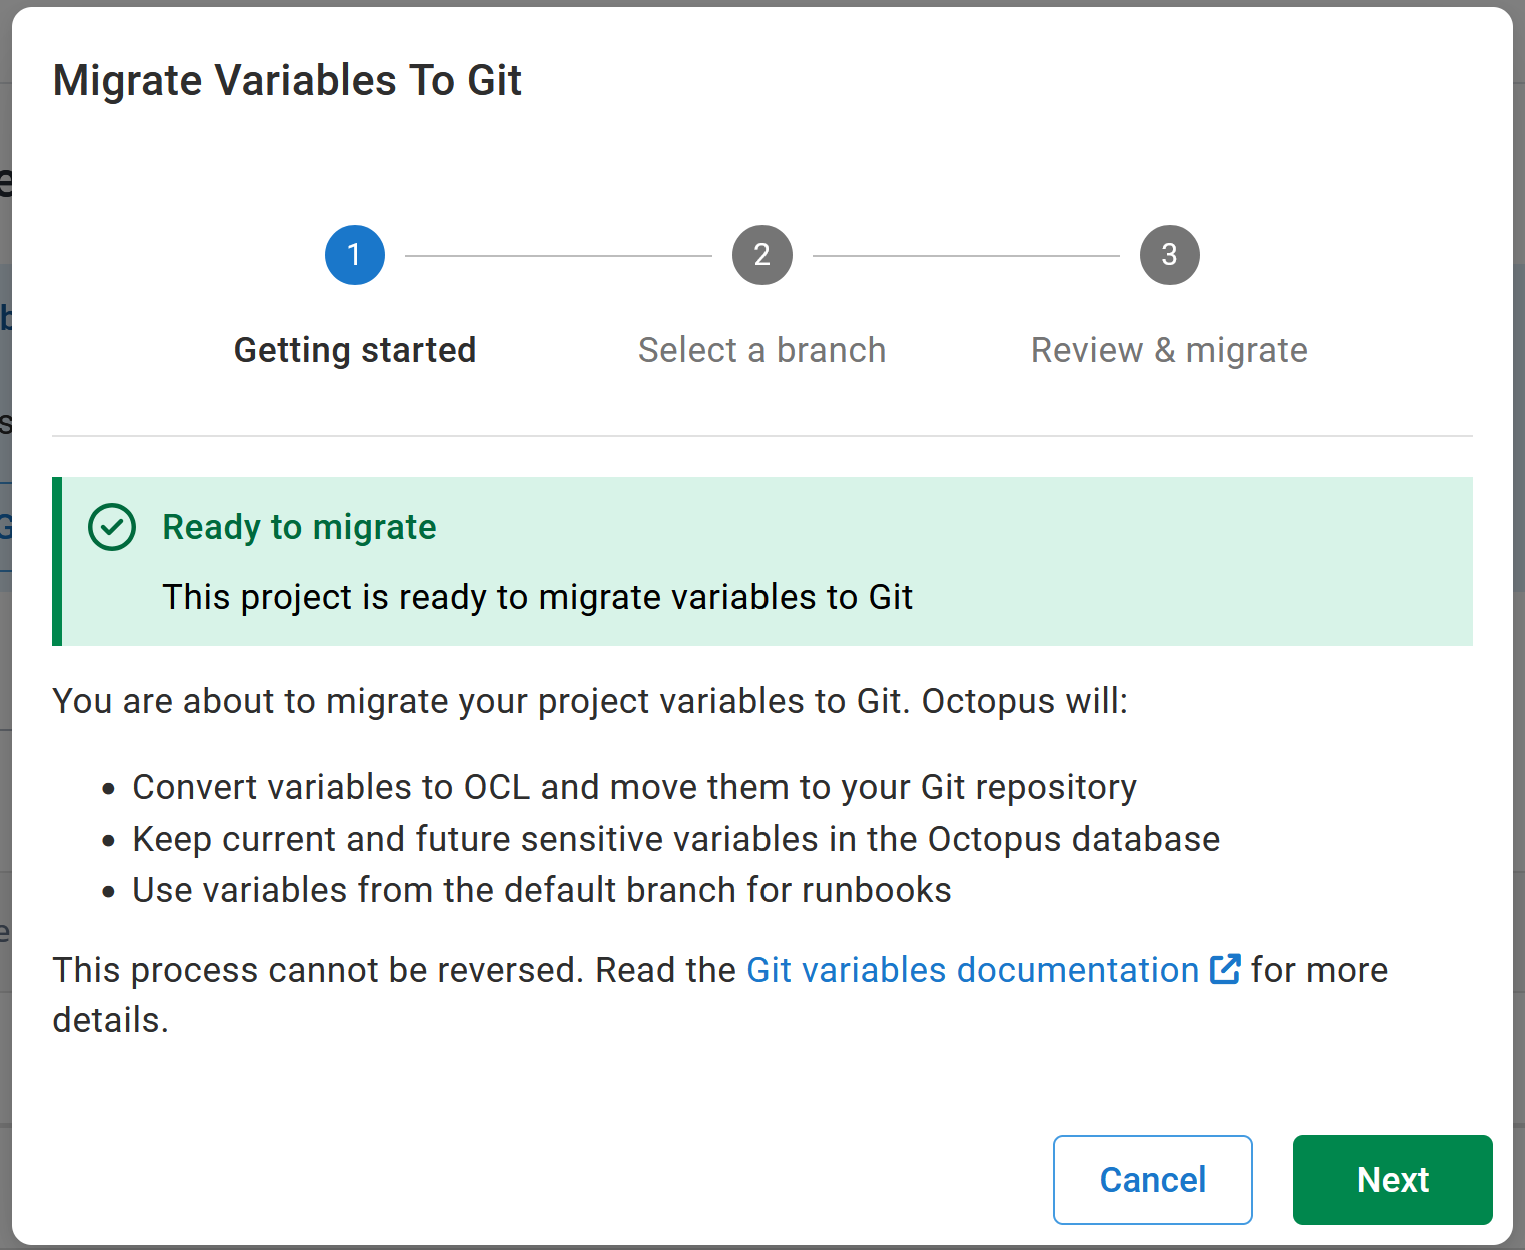
Step 1: Getting started
The first page is just informational. After opening the dialog, Octopus will validate that the project can migrate variables to Git, then you can continue.

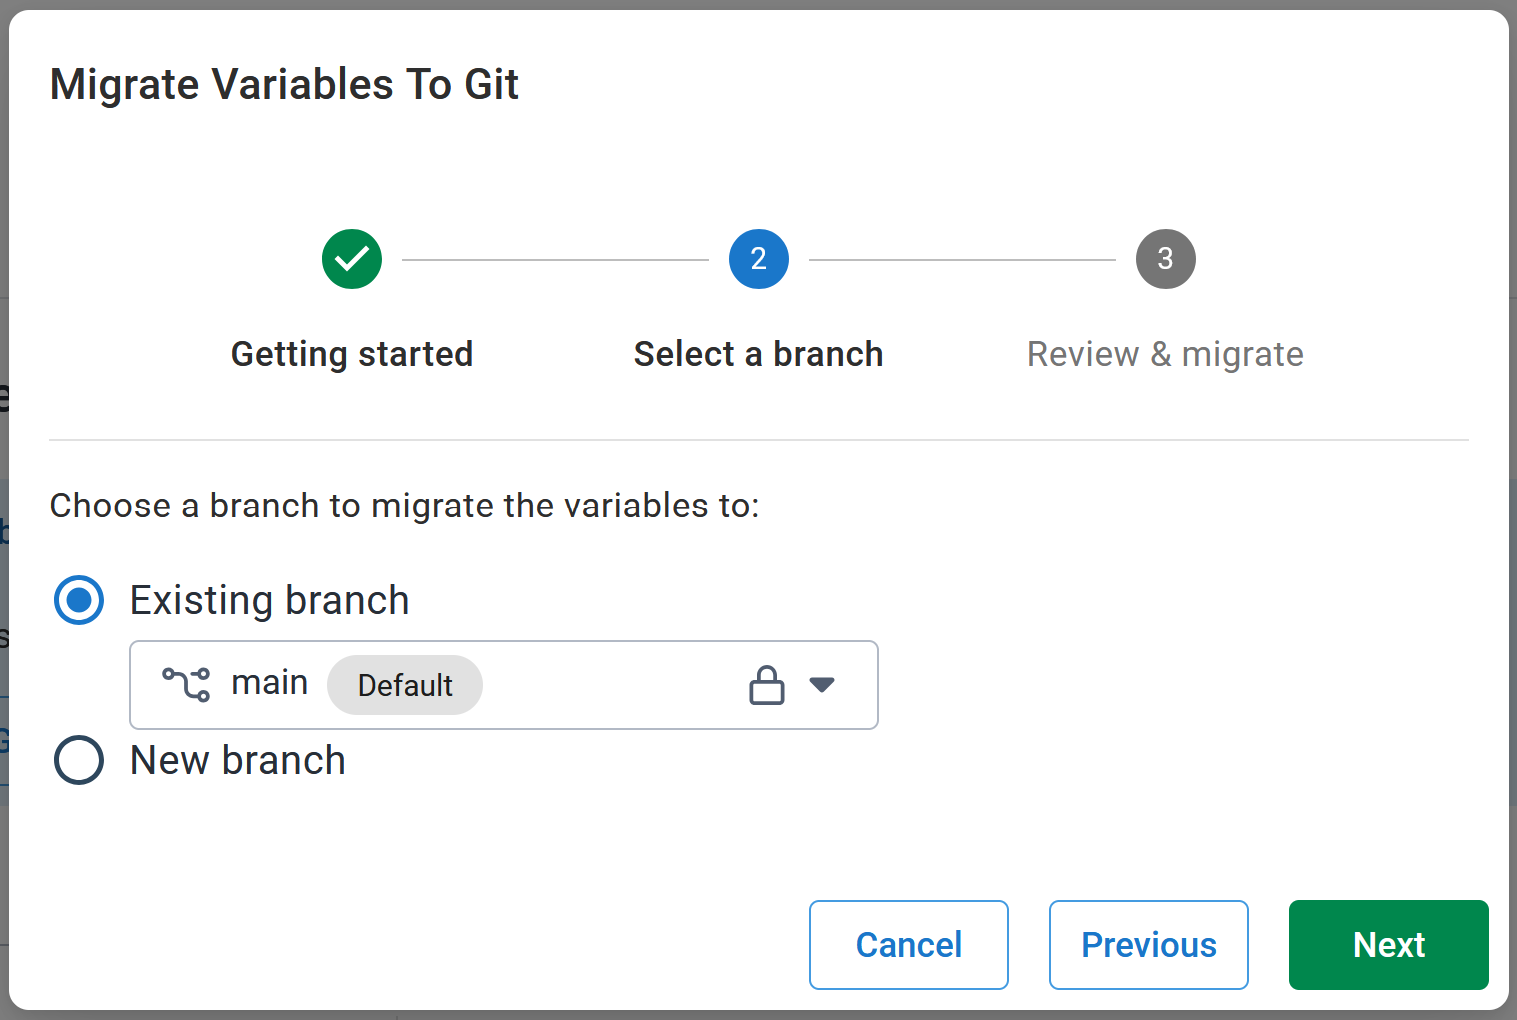
Step 2: Select a branch
Always use the default branch if possible. The default branch is the first branch shown when new users view the project, and Octopus only snapshots variables from the default branch for Runbooks. You always want to have a valid variables file on the default branch, so migrate directly there if you can.

If you are unable to migrate to the default branch (for example, it’s protected), you can select any other branch or get Octopus to create a new branch from the default when migrating. Once the migration is finished, merge the variables to the default branch as soon as possible.
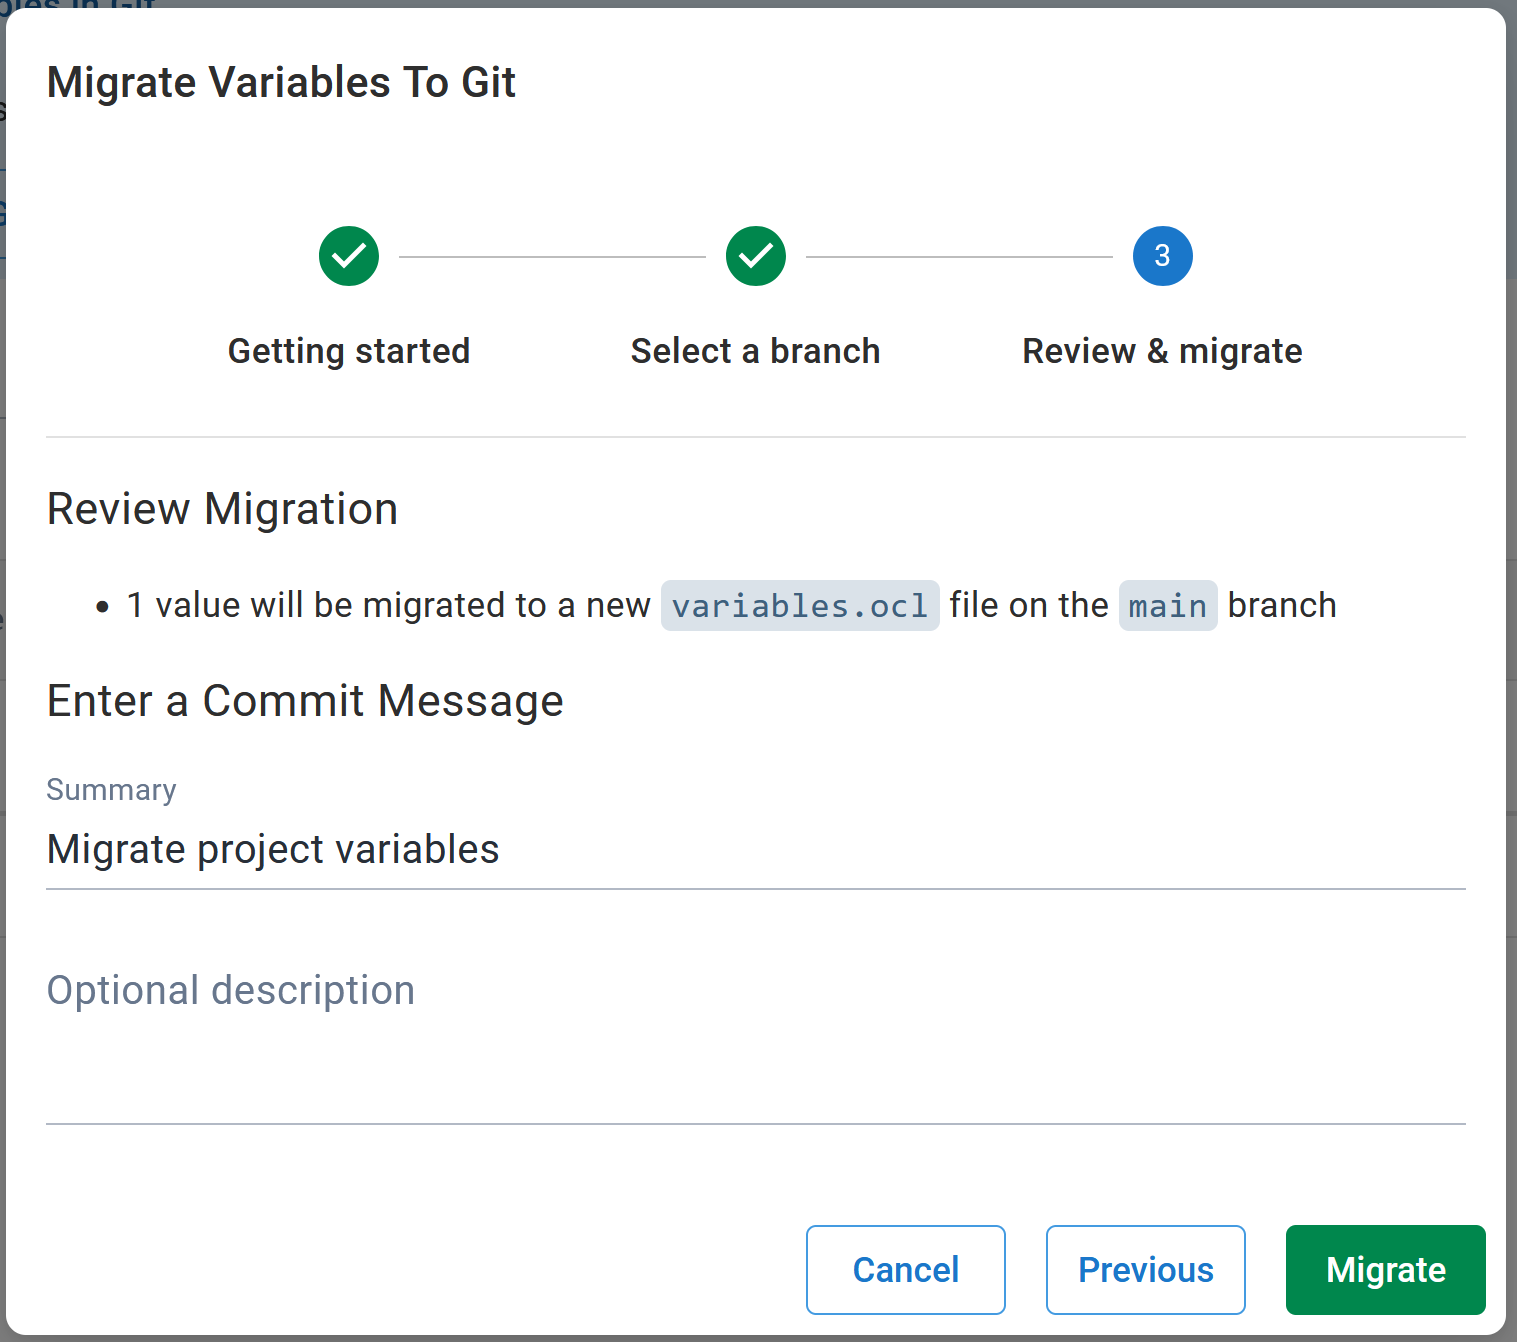
Step 3: Review & migrate
After selecting the branch, you can view the migration summary and start the migration. The migration is typically completed in a few seconds.

Once the migration is complete, click Done. The project will reload, and your variables will now be in Git.
Next steps
Merge variables to the default branch
If you migrated the variables to any branch other than the default, be sure merge the variables to the default branch immediately. The variables are now just like any other file in your Git repository, so follow your typical Git workflows to get this merged.
Update any other branches
If you’re a frequent user of branching within Octopus, you will want to ensure you get the variables to all of your active branches as quickly as possible.
Once the variables have been merged to the default branch, you can update your branches as you would with any other files in your repository - pull the latest changes into your branch, and you’ll be good to go.
Older versions
- Support for migrating variables was introduced in 2022.3.10382
Help us continuously improve
Please let us know if you have any feedback about this page.
Page updated on Tuesday, September 17, 2024