With a growing number of applications being provided with Helm charts as a primary method of installation, often all that needs to be done is a helm install against your cluster and the application will be up and running.
However managing updates can be a more involved process. Not only do you need to know when a new release is available, but you also need to have someone with credentials to run the helm upgrade against your cluster. Meaning you’ll either need to share important credentials among everyone performing updates or have only a few people busy performing these updates.
Octopus Deploy provides a full workflow to manage updates, either hands on or fully hands off.
Setting up the project
A Helm chart deployment like this is simple with Octopus Deploy.
- Start with the Deploy a Helm chart step
- Link it to the required Kubernetes clusters via target tags
- Reference the desired Helm chart
- Configure the namespace and any values required for your application
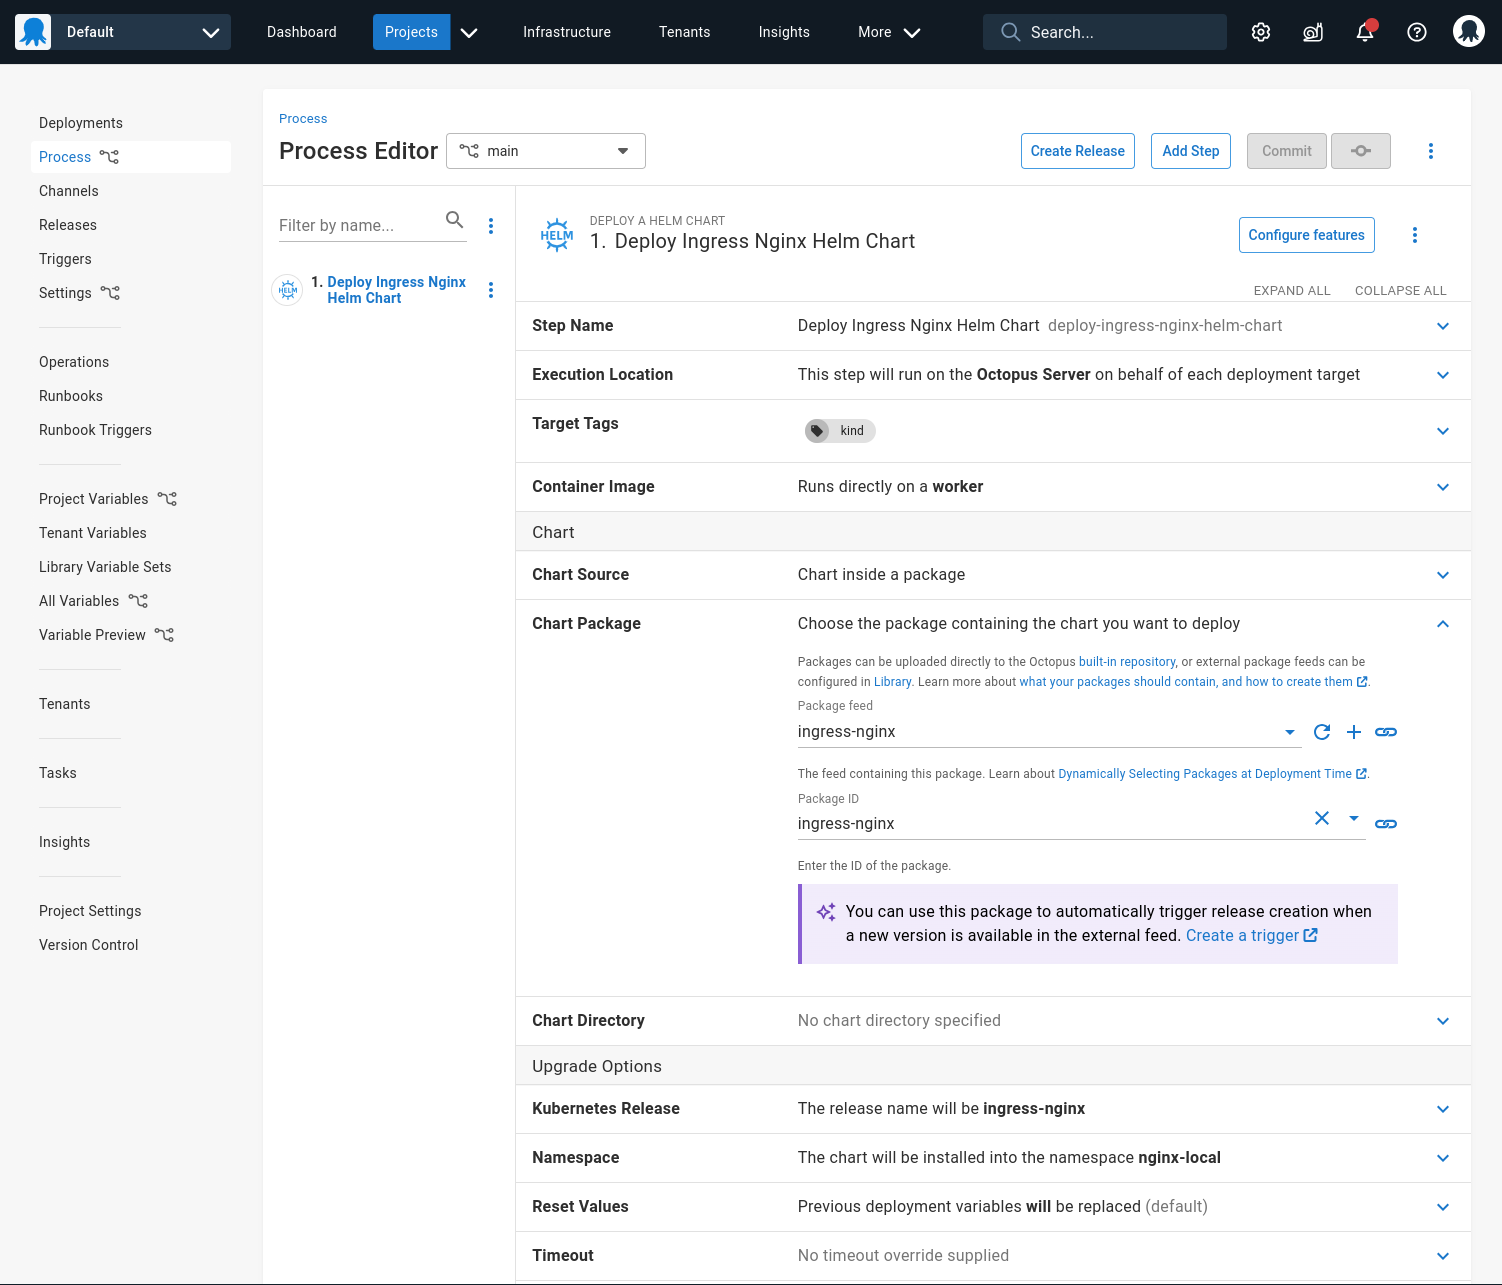
Sample OCL for version controlled projects:
step "deploy-ingress-nginx-helm-chart" {
    name = "Deploy Ingress Nginx Helm Chart"
    properties = {
        Octopus.Action.TargetRoles = "kind"
    }

    action {
        action_type = "Octopus.HelmChartUpgrade"
        properties = {
            Octopus.Action.Helm.ClientVersion = "V3"
            Octopus.Action.Helm.Namespace = "nginx-local"
            Octopus.Action.Helm.ReleaseName = "ingress-nginx"
            Octopus.Action.Helm.ResetValues = "True"
            Octopus.Action.Package.DownloadOnTentacle = "False"
            Octopus.Action.Package.FeedId = "ingress-nginx"
            Octopus.Action.Package.PackageId = "ingress-nginx"
        }

        packages {
            acquisition_location = "Server"
            feed = "ingress-nginx"
            package_id = "ingress-nginx"
            properties = {
                SelectionMode = "immediate"
            }
        }
    }
}
Helpful settings
By default, Octopus will start versioning releases from 0.0.1 and count up patch versions from there. Helm charts already have a meaningful version number that you may wish to use instead.
You can change our releases to track the Helm chart version by heading to the project settings and changing the release versioning rule to use the version number from our deployment step.

Sample OCL for version controlled projects:
versioning_strategy {
    donor_package {
        step = "deploy-ingress-nginx-helm-chart"
    }
}
Creating the trigger
Triggers can be created directly from the deployment process by clicking the Create a trigger link, or by navigating to the Triggers page and clicking Add Trigger.
Enter a name and a select which container images or Helm charts you’d like to watch for updates. In this example, the Default channel has a lifecycle that will automatically deploy to the Development environment for testing, more on that later.
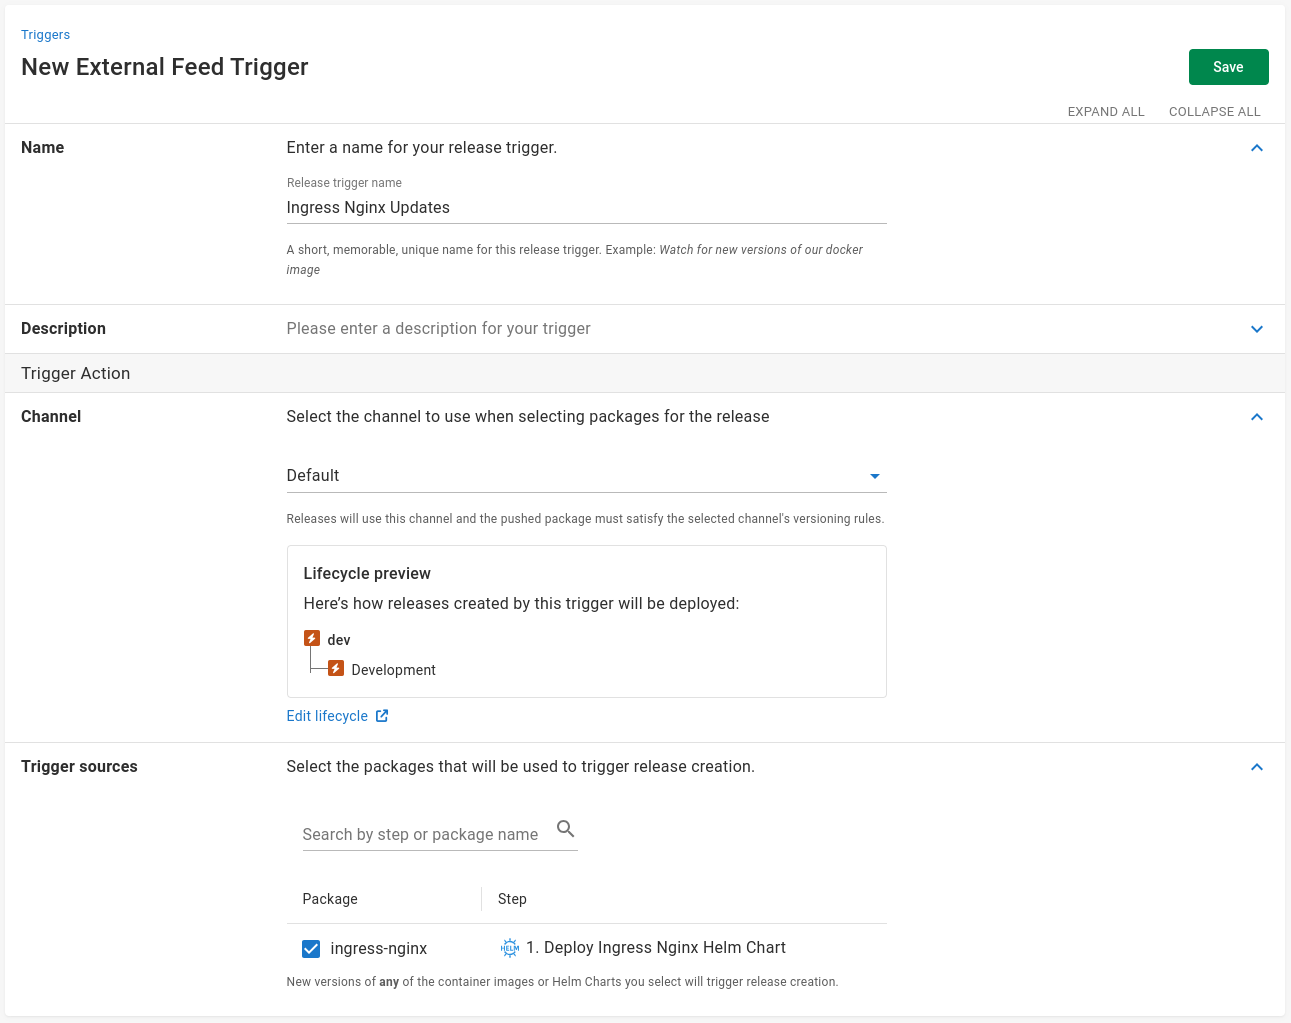
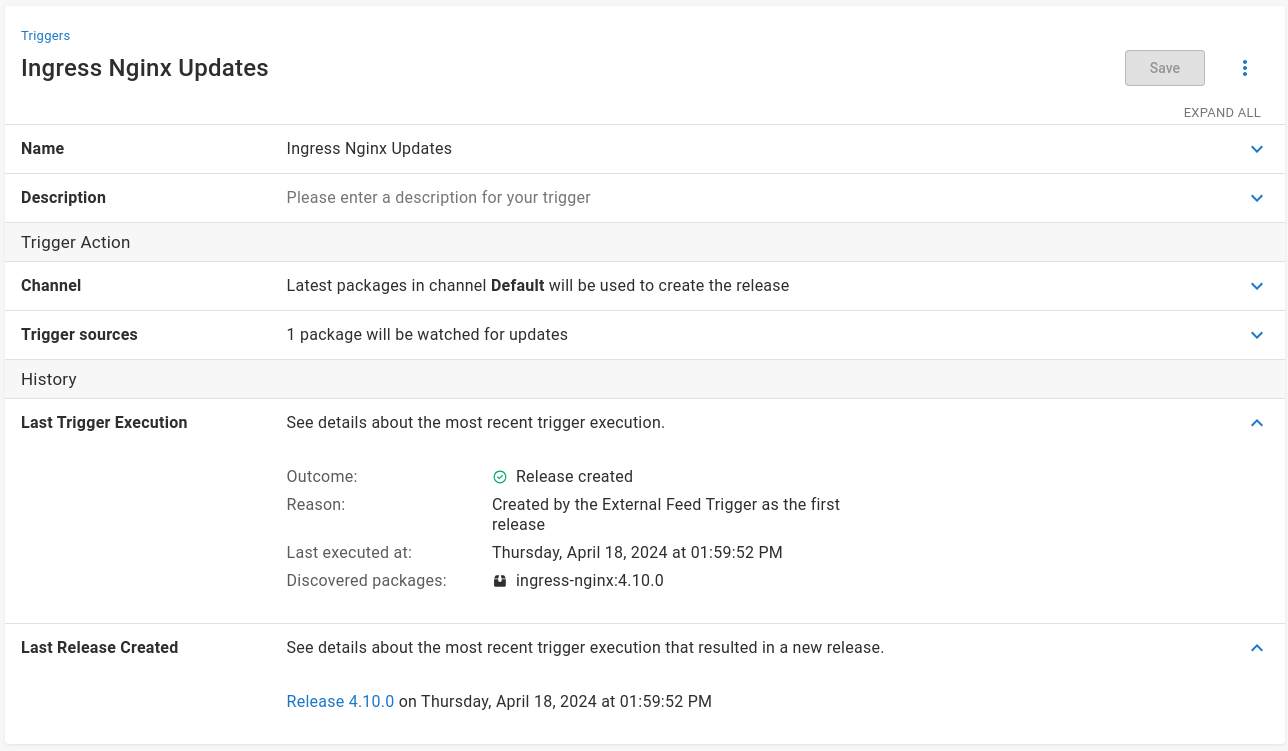
Once the trigger is created, you can watch the triggers execution history. Within a couple of minutes you’ll see your very first release created.
Automatic deployment strategies
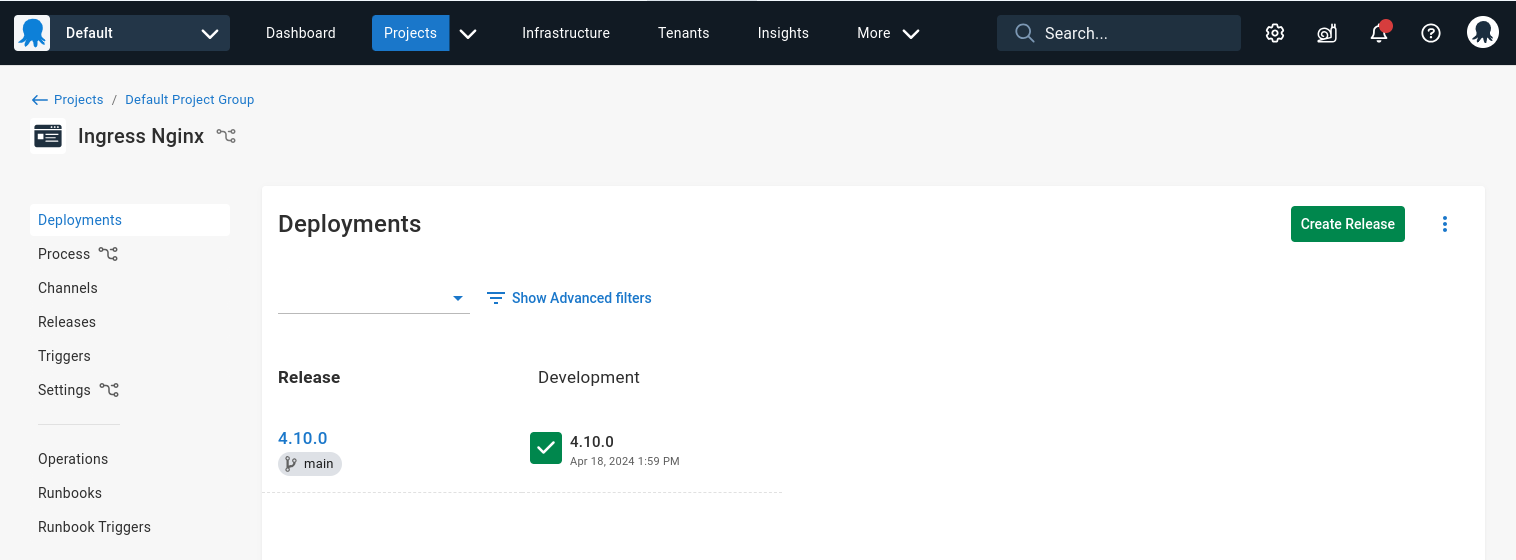
Back on the project dashboard, you can see the release isn’t only created but successfully deployed to your cluster as well.
But what if there was only a production environment? You may be a bit more careful with deploying updates the moment they are released. You can control this with channels and lifecycles.
First create a new lifecycle, called Production here.
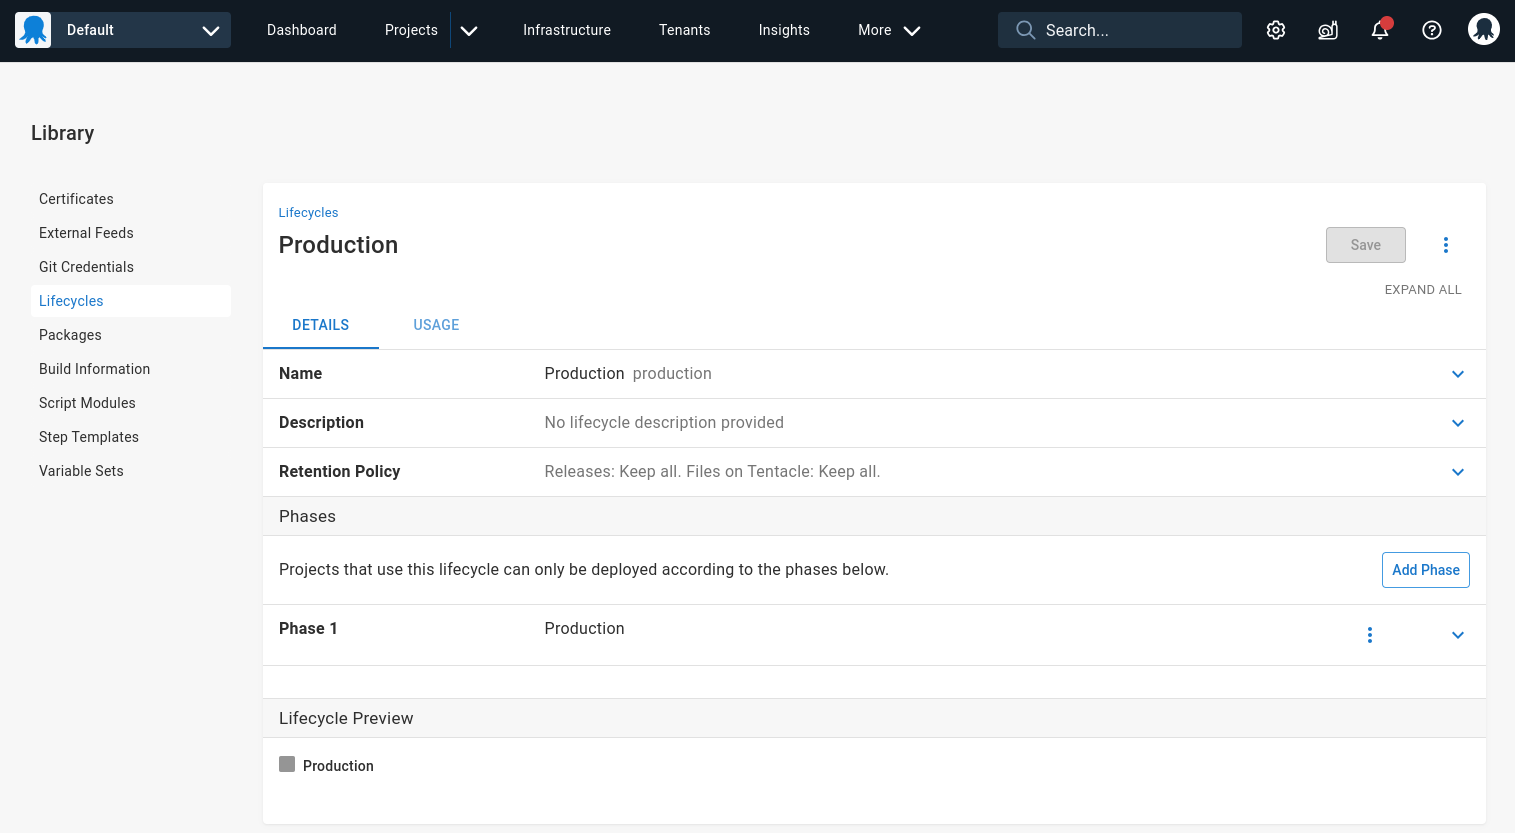
Then create a channel in the project that uses this lifecycle.
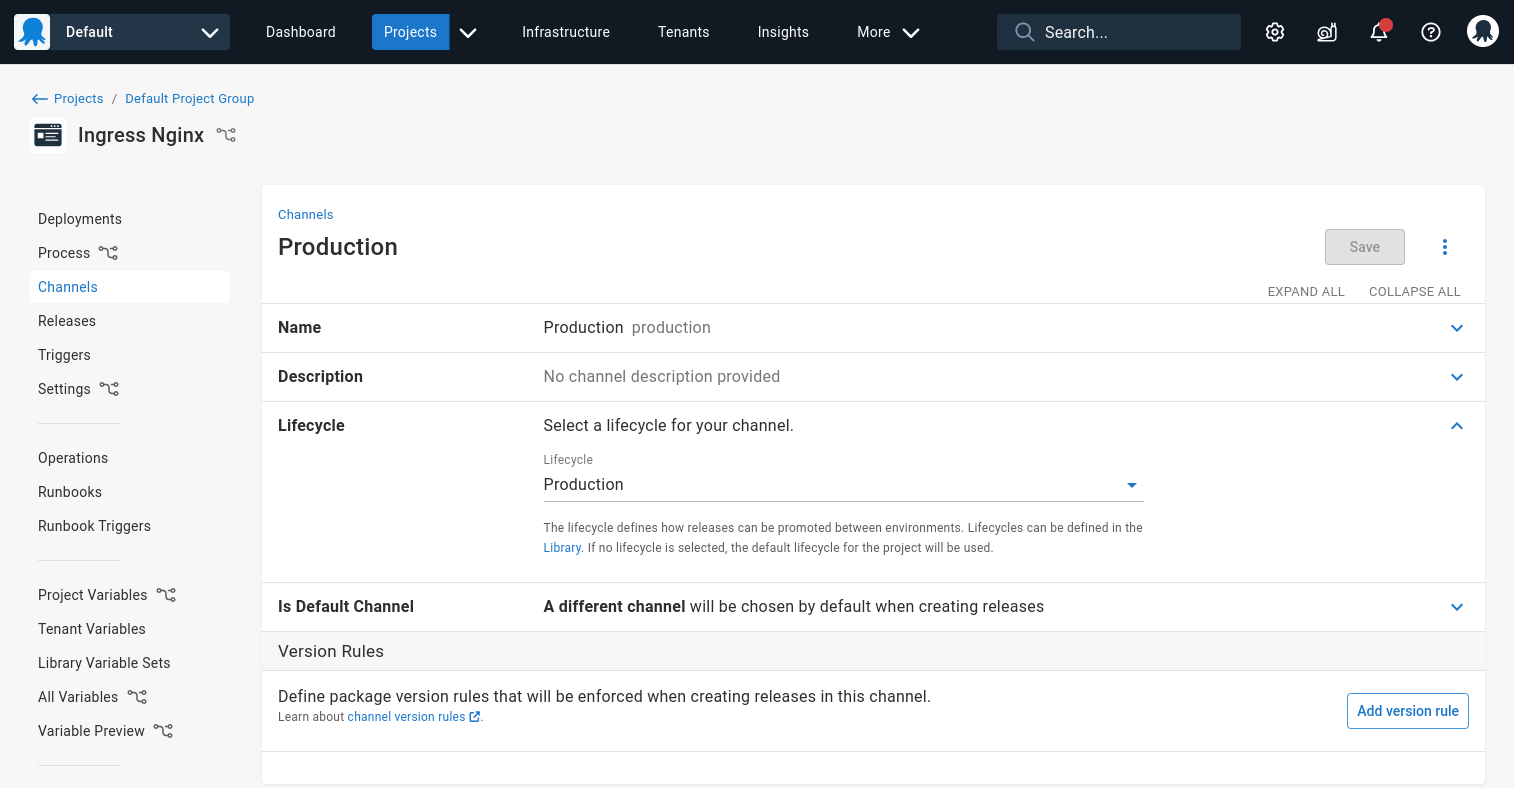
Back in the trigger, change the channel to Production instead.
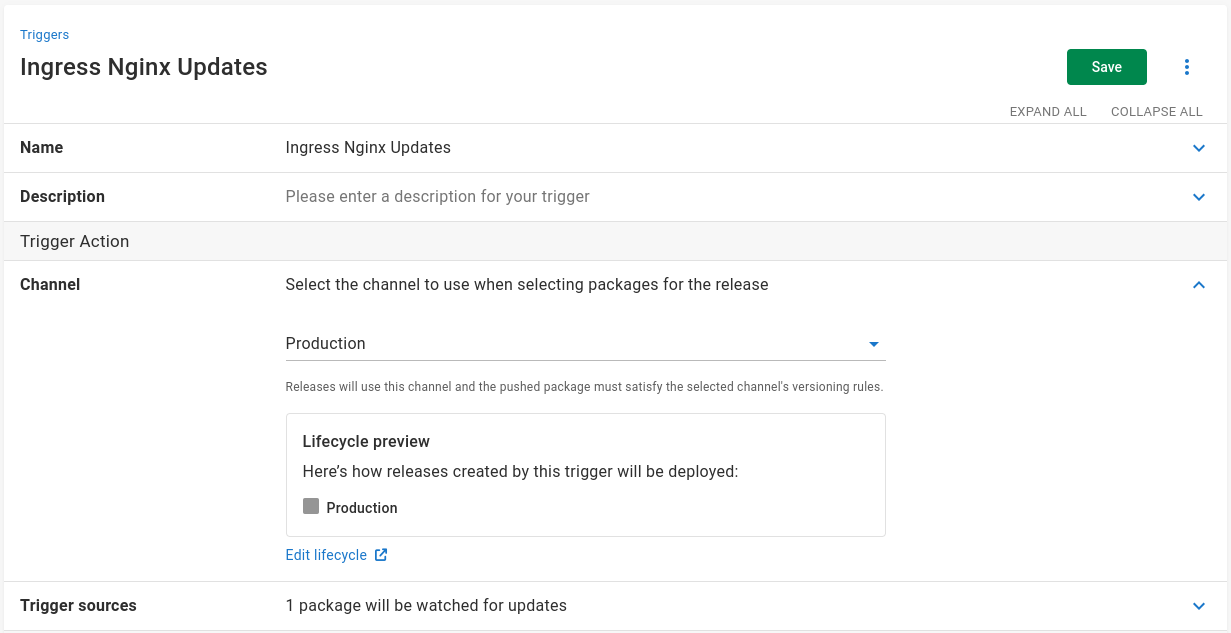
New releases will remain undeployed until someone has time to manually review the changes and click Deploy.
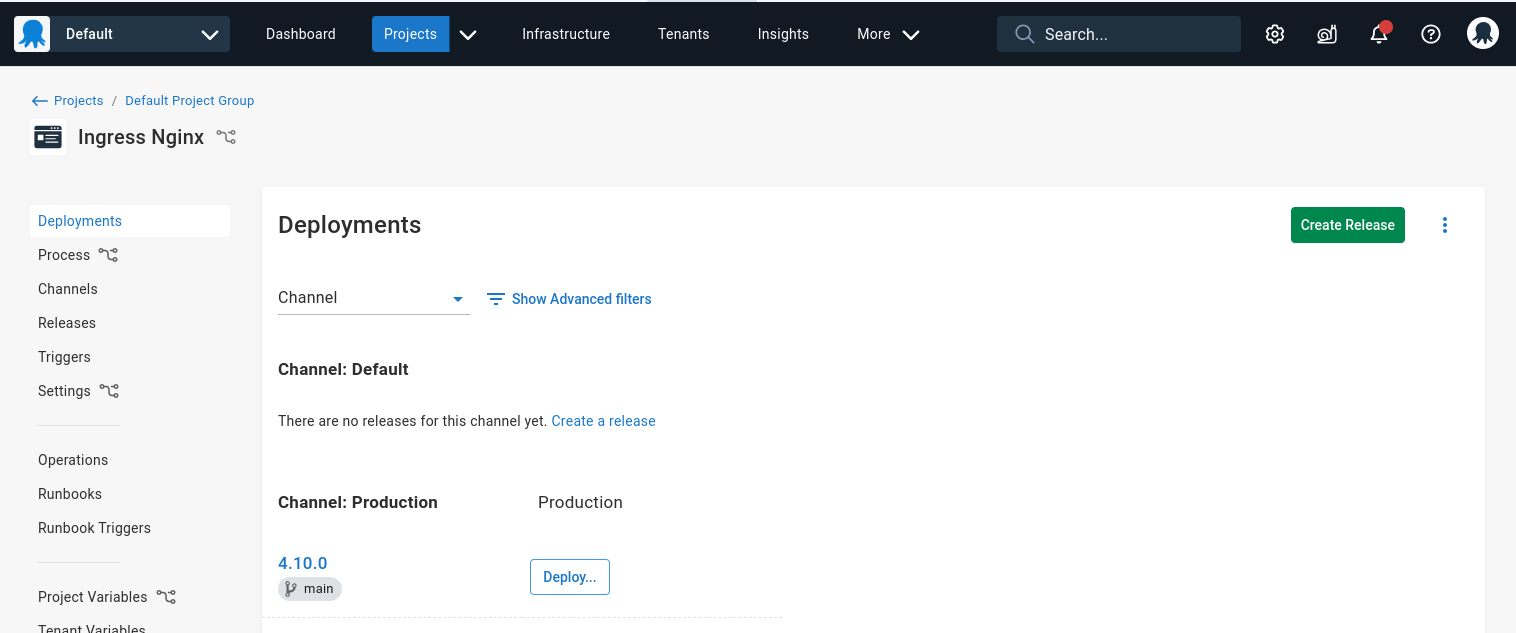
These are two simple cases, take a look at environment recommendations for more information on what’s possible.
Getting notified about new releases
Now you have a list of releases created and waiting to be deployed. This isn’t very useful if no one knows about it.
Octopus deploy offers a quick and easy notification service through subscriptions that allow you to send the right people an email or message whenever a release is created in a particular project.
Help us continuously improve
Please let us know if you have any feedback about this page.
Page updated on Wednesday, July 31, 2024