👋 Welcome to Octopus Deploy!
This tutorial series will help you complete your first deployment in Octopus Deploy. We’ll walk you through the steps to deploy a sample hello world package to one or more of your servers.
If you’re using Octopus 2024.2 or earlier, please visit one of these legacy guides:
- Octopus 2022.2 or earlier read the 2022 guide
- Octopus 2024.2 or earlier read the 2024 guide
Before you start
To follow this tutorial, you will need an Octopus Deploy instance. If you haven’t already, set up an instance using one of these methods:
- Octopus Cloud ➜ we host Octopus Deploy for you.
- Self-hosted on a Windows Server ➜ you host Octopus Deploy on your infrastructure by downloading our MSI and installing it onto a Windows Server with a SQL Server backend. Read the installation requirements.
- Self-hosted as a Docker container ➜ you run Octopus Deploy in a docker container. Read the installation instructions.
Log in to Octopus
- Log in to your Octopus instance and click New Project.

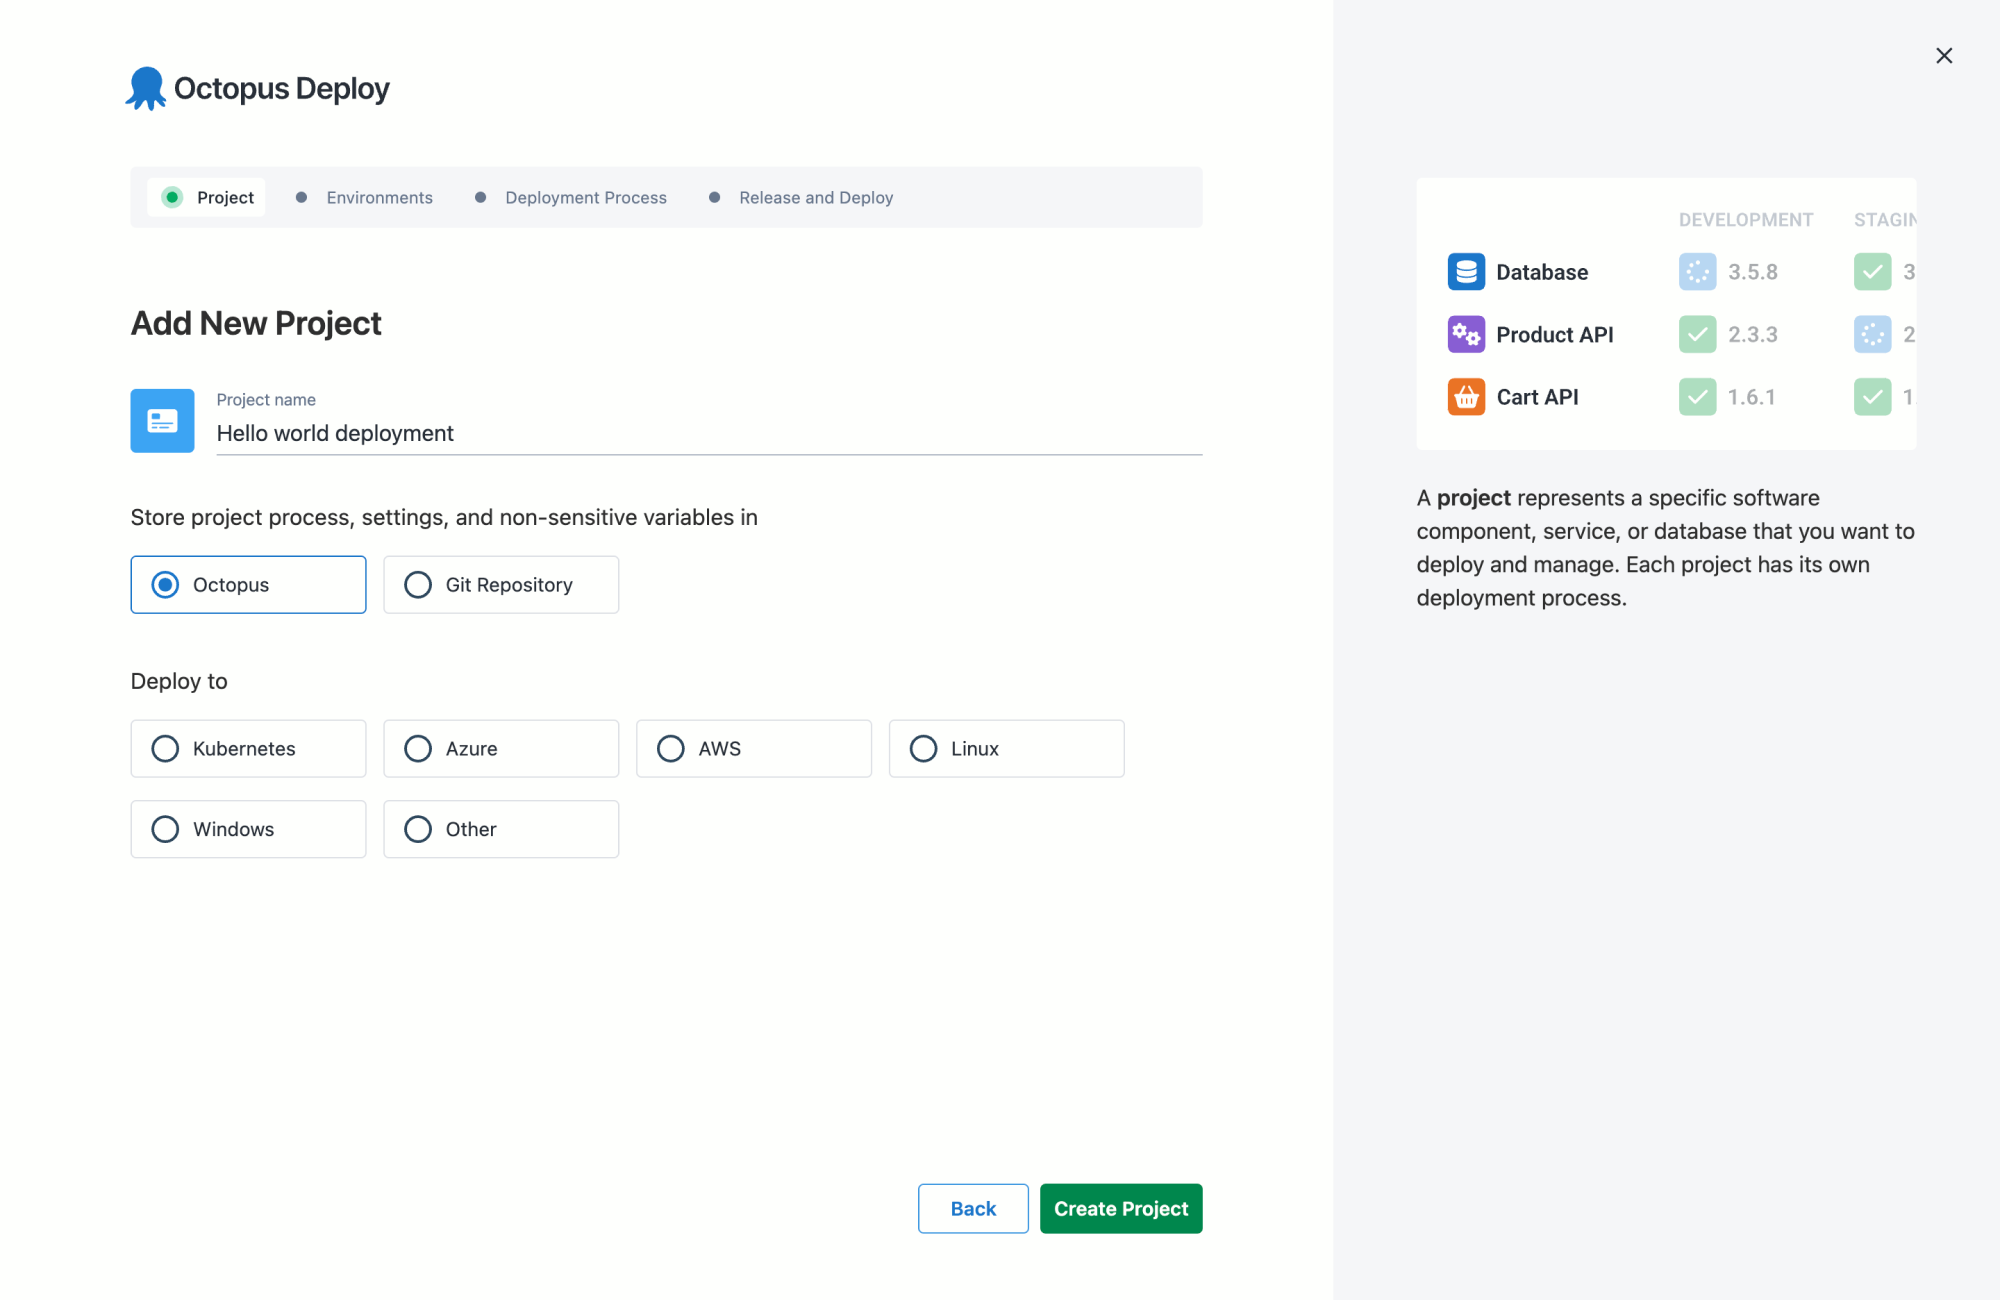
Add project
Projects let you manage software applications and services, each with their own deployment process.
- Give your project a descriptive name, for example,
Hello world deployment.
Octopus lets you store your deployment process, settings, and non-sensitive variables in either Octopus or a Git repository.
- For this example, keep the default Octopus option selected.
- Leave the rest as is and click Create Project.
Add environments
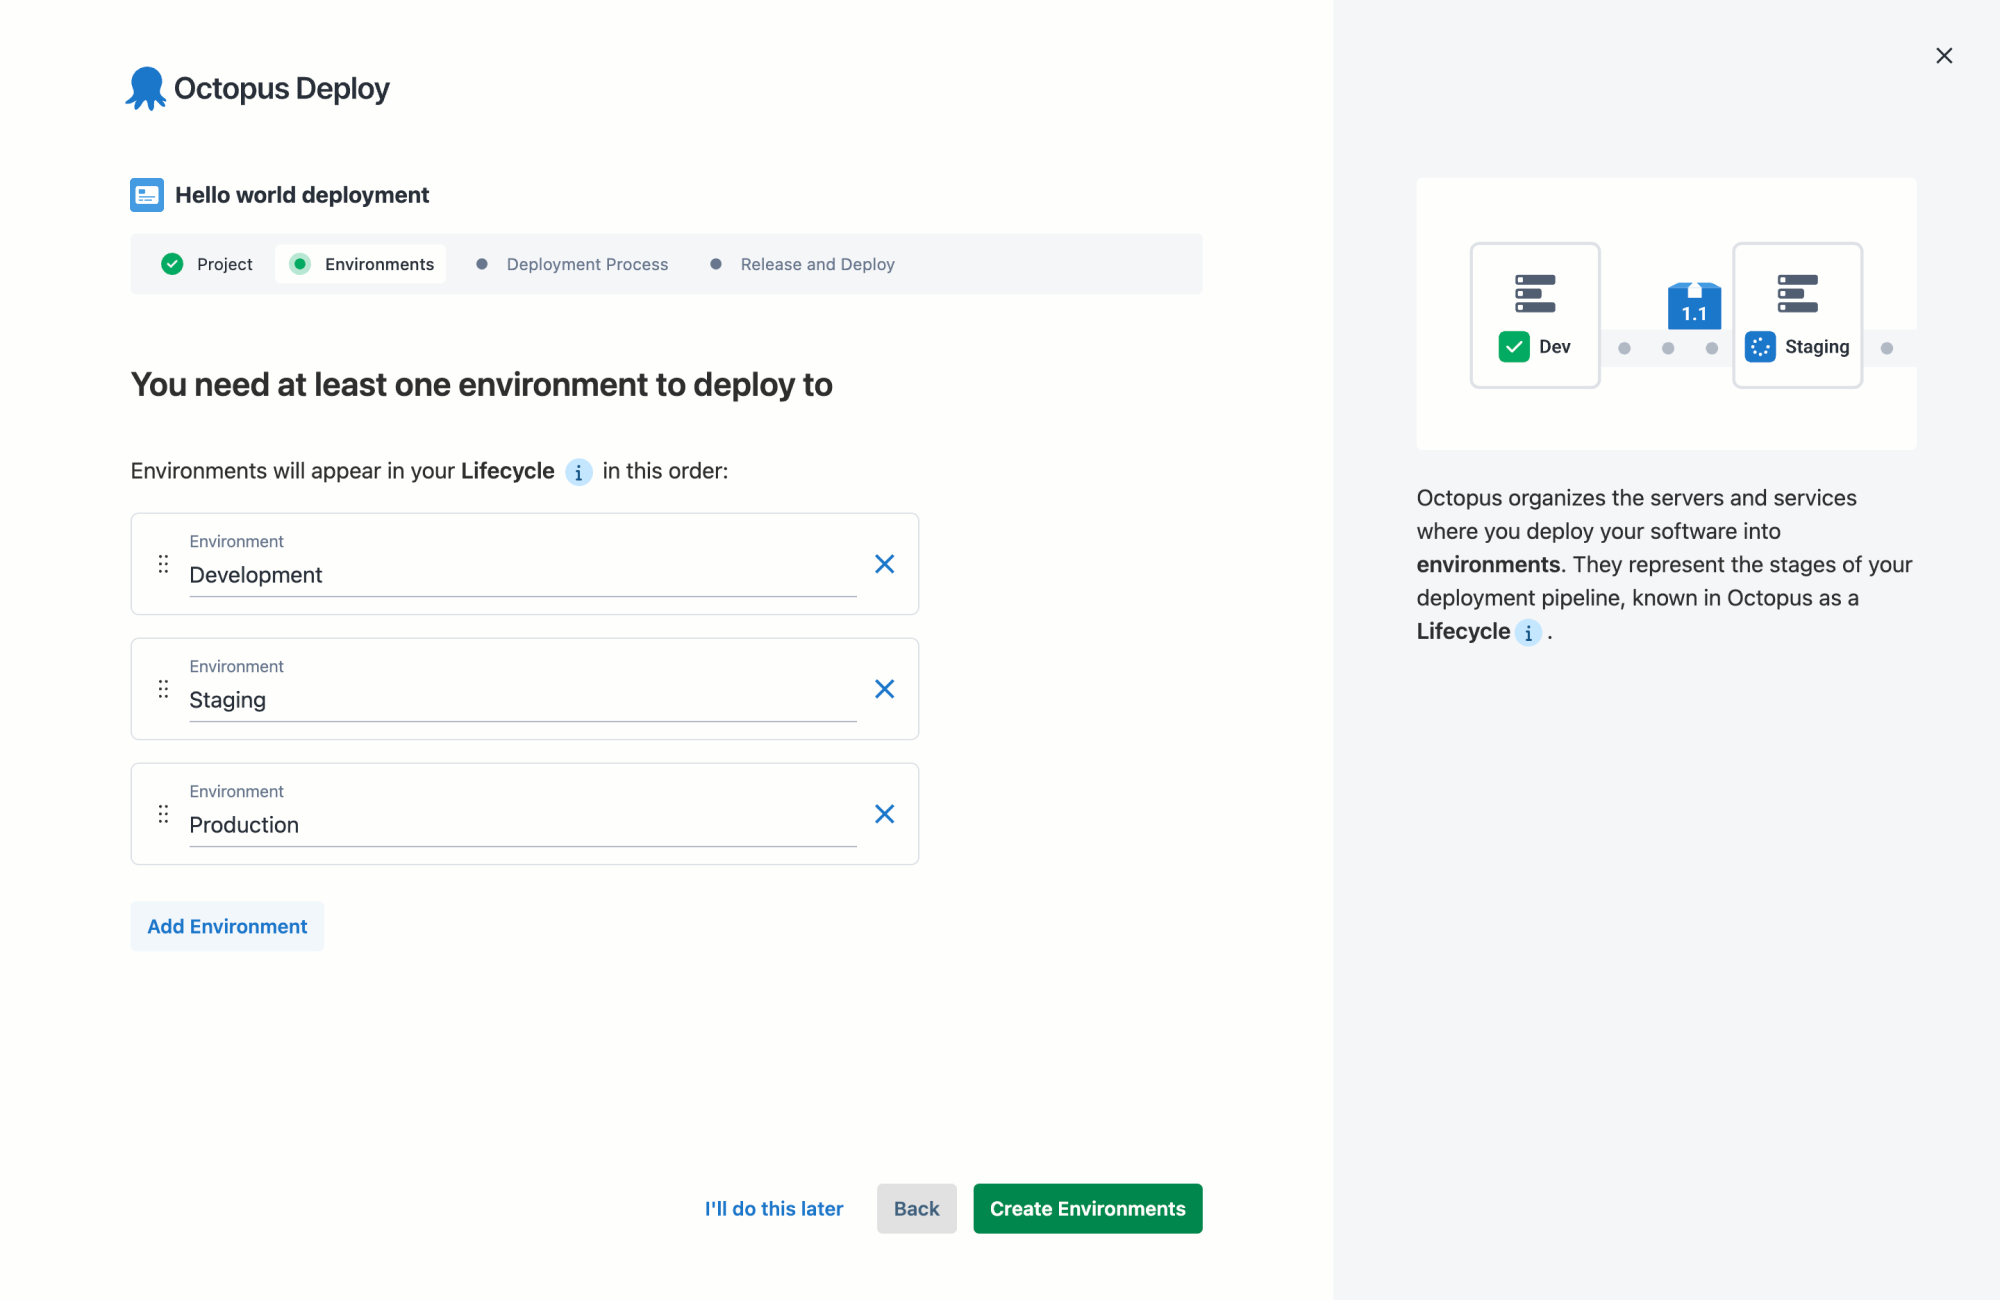
You’ll need an environment to deploy to.
Environments are how you organize your infrastructure into groups representing the different stages of your deployment pipeline. For example, Development, Staging, and Production.
- Keep the default environments and click Create Environments.
Create deployment process
The next step is creating your deployment process. This is where you define the steps that Octopus uses to deploy your software.
For this deployment, we will configure one step to print Hello World.
- In the “Welcome to your Project” dialog, click Thanks, got it.
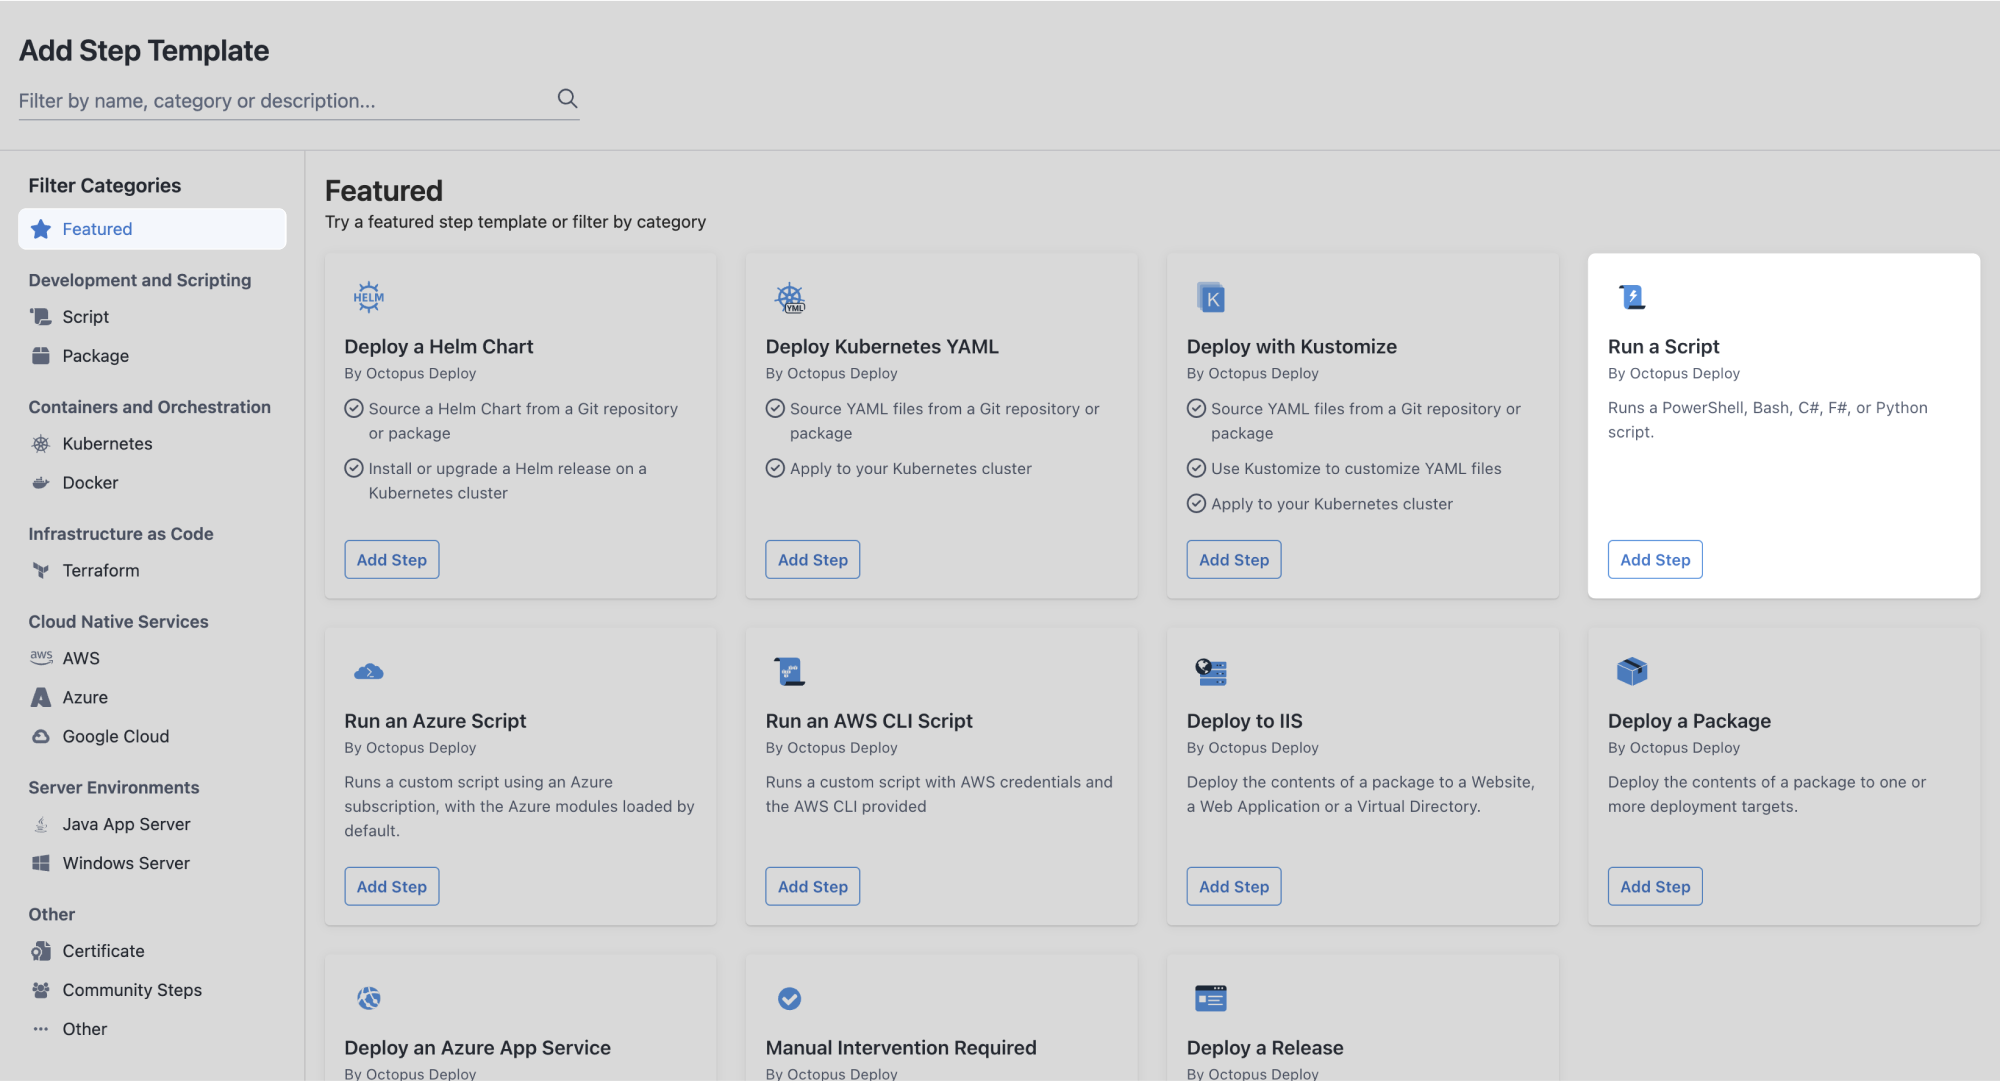
Octopus lands you in the process step template library.
- In the Featured category, locate the Run a Script card and click Add Step.
Step Name
You can leave this as the default Run a Script.
Script Source
You can source script files via 3 methods:
- Inline script (default)
- Git repository
- Package
- Select Inline script as your script source.

Inline Source Code
- Select an appropriate script language.
- Copy the script below and paste it into the source code editor.
Write-Host "Hello, World!"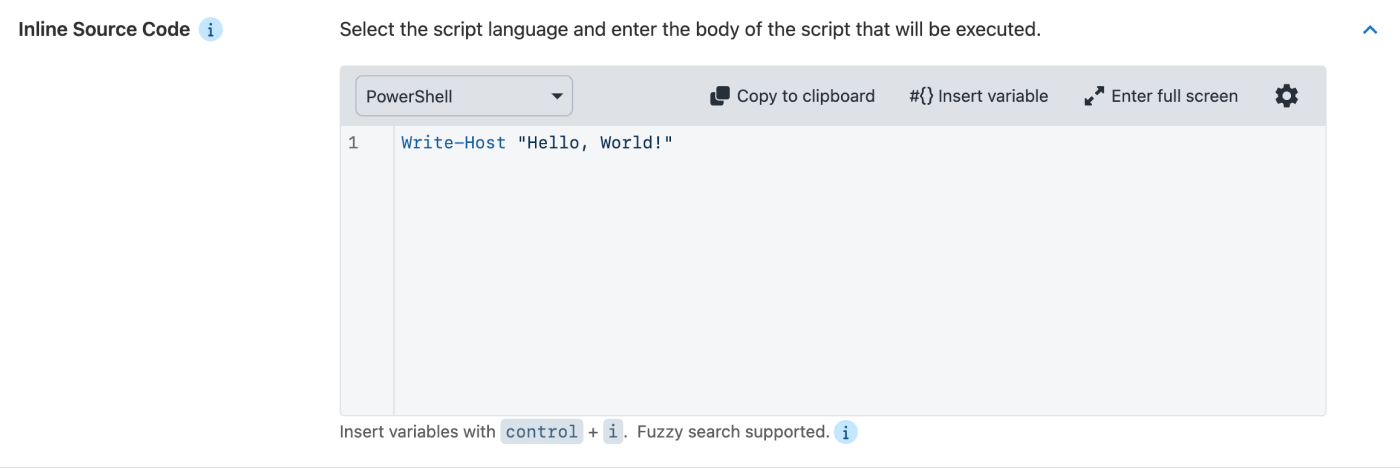
Execution Location
- If you’re using Octopus Cloud, select Run once on a worker.
- If you’re using a self-hosted Octopus instance, select Run once on the Octopus Server.

Worker Pool
- If you’re using Octopus Cloud, keep the default Runs on a worker from a specific worker pool option selected.
If you’re using Octopus Cloud and a Bash script language, select the Hosted Ubuntu option from the dropdown. The Default Worker Pool is running Windows and doesn’t have Bash installed.

You can skip the other sections of this page for this tutorial.
Save your step and you can move on to create and deploy a release.
Release and deploy
Create release
A release is a snapshot of the deployment process and the associated assets (packages, scripts, variables) as they exist when the release is created.
- Click the Create Release button.
- Click Save.
Execute deployment
Deployments typically occur in a defined environment order (for example, Development ➜ Staging ➜ Production), starting with the first one. Later you can configure Lifecycles with complex promotion rules to accurately reflect how you want to release software.
- Click the Deploy to Development… button to deploy to the development environment.
- Review the preview summary and when you’re ready, click Deploy.
The Task Log will show you in real-time the tasks Octopus is taking to run your Hello World script.
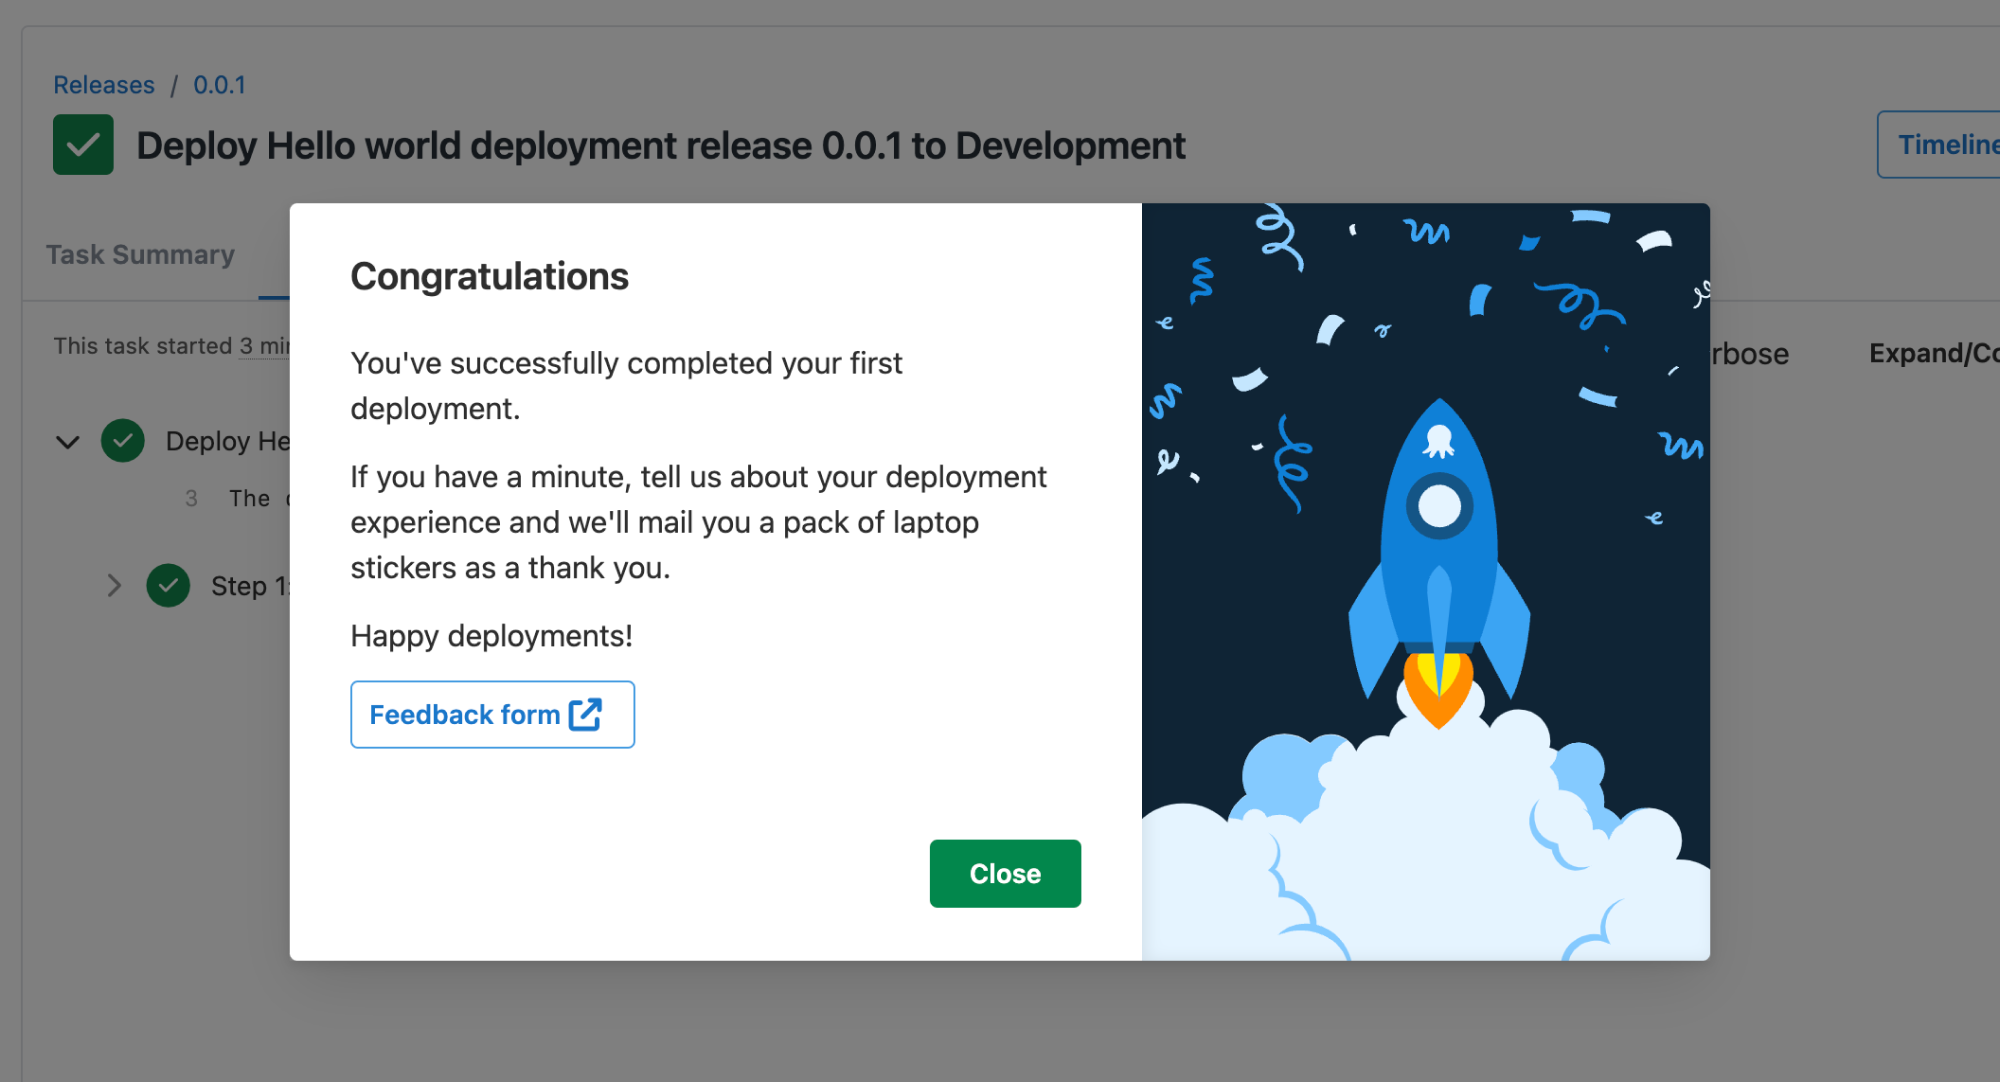
You successfully completed your first deployment! 🎉
Up next, we’ll introduce you to the power of variables.
⭐ Favoriting projects
To easily navigate back to a project, you can mark it as a favorite by clicking the star icon next to the project name. Favorited projects will appear in the Deploy menu.

All guides in this tutorial series
- First deployment (this page)
- Define and use variables
- Approvals with manual interventions
- Add deployment targets
- Deploy a sample package
Further Reading
Help us continuously improve
Please let us know if you have any feedback about this page.
Page updated on Thursday, November 14, 2024