Octopus version 2022.1 has support for discovering and cleaning up supported types of deployment targets using tags on cloud resources, please see our documentation on Cloud Target Discovery for more information.
You can use the Octopus REST API or the Octopus commands below to create Octopus accounts, targets, and workers dynamically. You can make these requests in the same scripts that create your cloud infrastructure or in following steps.
If your process creates dynamic deployment targets from a script, and then deploys to those targets in a subsequent step, make sure you add a full health check step for the role of the newly created targets after the step that creates and registers the targets.
This allows Octopus to ensure the new targets are ready for deployment by staging packages required by subsequent steps that perform the deployment.
Enable dynamic infrastructure
Dynamic infrastructure can be enabled when a new environment is created, or it can be enabled or disabled for existing environments.
- Navigate to Infrastructure ➜ Environments.
- Click the … overflow menu for the environment you want to enable or disable dynamic infrastructure on and select Edit.
- Expand the Dynamic infrastructure section and tick or un-tick the check-box to enable or disable managing dynamic infrastructure.
- Click SAVE.
Using the Octopus REST API
Octopus comes with a REST API that can be used to register Octopus accounts and deployment targets dynamically:
- Create an AWS Account
- Create an Azure Service Principal Account
- Add an Azure Web App target
- Register a listening Tentacle
- Register a Polling Tentacle
To learn more about the things you can do with the API, take a look at our API examples section.
Using PowerShell functions
Each of the resource commands is available as a PowerShell function anywhere that a step allows you to run a PowerShell script.
Only a subset of account types and deployment targets support being created dynamically using the commands listed below.
Accounts
Targets
Before you can create dynamic targets in an Environment, the environment needs to be configured to allow it. See Enabling dynamic infrastructure for more information.
- Azure Web App
- Azure Service Fabric
- Azure Cloud Service
- Kubernetes Cluster
- AWS ECS Cluster
- Remove Target
Restrictions
All of the commands will result in an Account or Deployment Target, which will automatically be scoped to the Environment and Tenant (if the deployment is for a tenant). This cannot be overridden through the commands.
These commands are not available in the Script Console.
Using bash functions
Any targets defined by a step package have access to creating that target with a bash script. See the new-target function documentation for further information.
Examples
Creating an Azure Web App
Let’s say you need to deploy an application to a different Azure Resource Group each time you deploy, one per developer or tester for example. The Resource Group, Application Service Plan, and Web App can all be created through an Azure PowerShell script step, and then the Octopus Target can be created in the same step.
# Octopus variables
$environment = $OctopusParameters['Octopus.Environment.Name']
$releaseNumber = $OctopusParameters['Octopus.Release.Number'].Replace(".", "-")
$deploymentId = $OctopusParameters['Octopus.Deployment.Id']

# A unique name based on the Octopus environment, release, and deployment
$uniqueName = "Acme-$environment-$releaseNumber-$deploymentId"

# Create resources in Azure
New-AzureRmResourceGroup -Name $uniqueName -Location "WestUS"
New-AzureRmAppServicePlan -Name $uniqueName -Location "WestUS" -ResourceGroupName $uniqueName -Tier Free
New-AzureRmWebApp -Name $uniqueName -Location "WestUS" -AppServicePlan $uniqueName -ResourceGroupName $uniqueName

# Create new target in Octopus
New-OctopusAzureWebAppTarget -Name $uniqueName -AzureWebApp $uniqueName -AzureResourceGroupName $uniqueName -OctopusAccountIdOrName "my-octopus-azure-service-principal-account" -OctopusRoles "acme-web"
Tearing down a test environment
Building on the Web App example, you may wish to spin up an application and then tear it down at the end of the day. By combining Recurring Deployments and a tear-down script, you can keep your cloud hosting costs down.
Using as little as two lines of PowerShell you can remove all the resources from Azure and Octopus:
Remove-AzureRmResourceGroup -Name "AzureWebAppResourceGroup" -Force
Remove-OctopusTarget -targetIdOrName "AzureWebApp"
Deploying an ARM template
You can also use the above PowerShell cmdlets when deploying Azure resources using an ARM template.
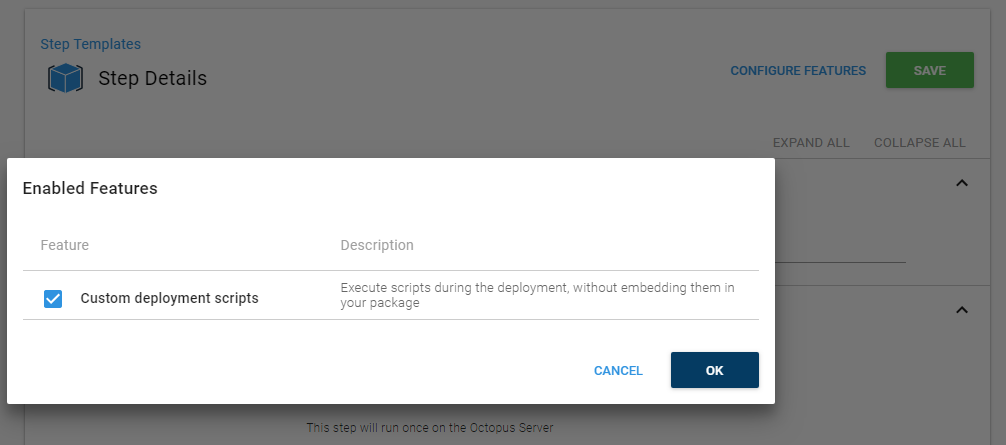
Firstly, turn on Custom deployment scripts under Configure Features on your Deploy an Azure Resource Group step.

Under the Features section you will have Pre-deployment, Deployment, and Post-deployment scripts.
In the Post-deployment script section, you can access the output parameters and use those output parameters to run any of the cmdlets above.
Help us continuously improve
Please let us know if you have any feedback about this page.
Page updated on Sunday, January 1, 2023