Getting started with Octopus Deploy is straightforward, and the product will guide you through most of the initial setup and get you deploying in minutes. However, to truly take advantage of Octopus, it helps to have some background on the key concepts.
When you are ready, start a free trial to explore Octopus.
Start a TrialOctopus Cloud is the easiest way to get started with Octopus Deploy, and we take care of everything for you. Alternatively, if you require a self-managed CD solution, you can download Octopus Server and run it on your own setup. The installation guide provides instructions for downloading, installing, and configuring your Octopus Deploy Server.
Octopus in your software delivery pipeline
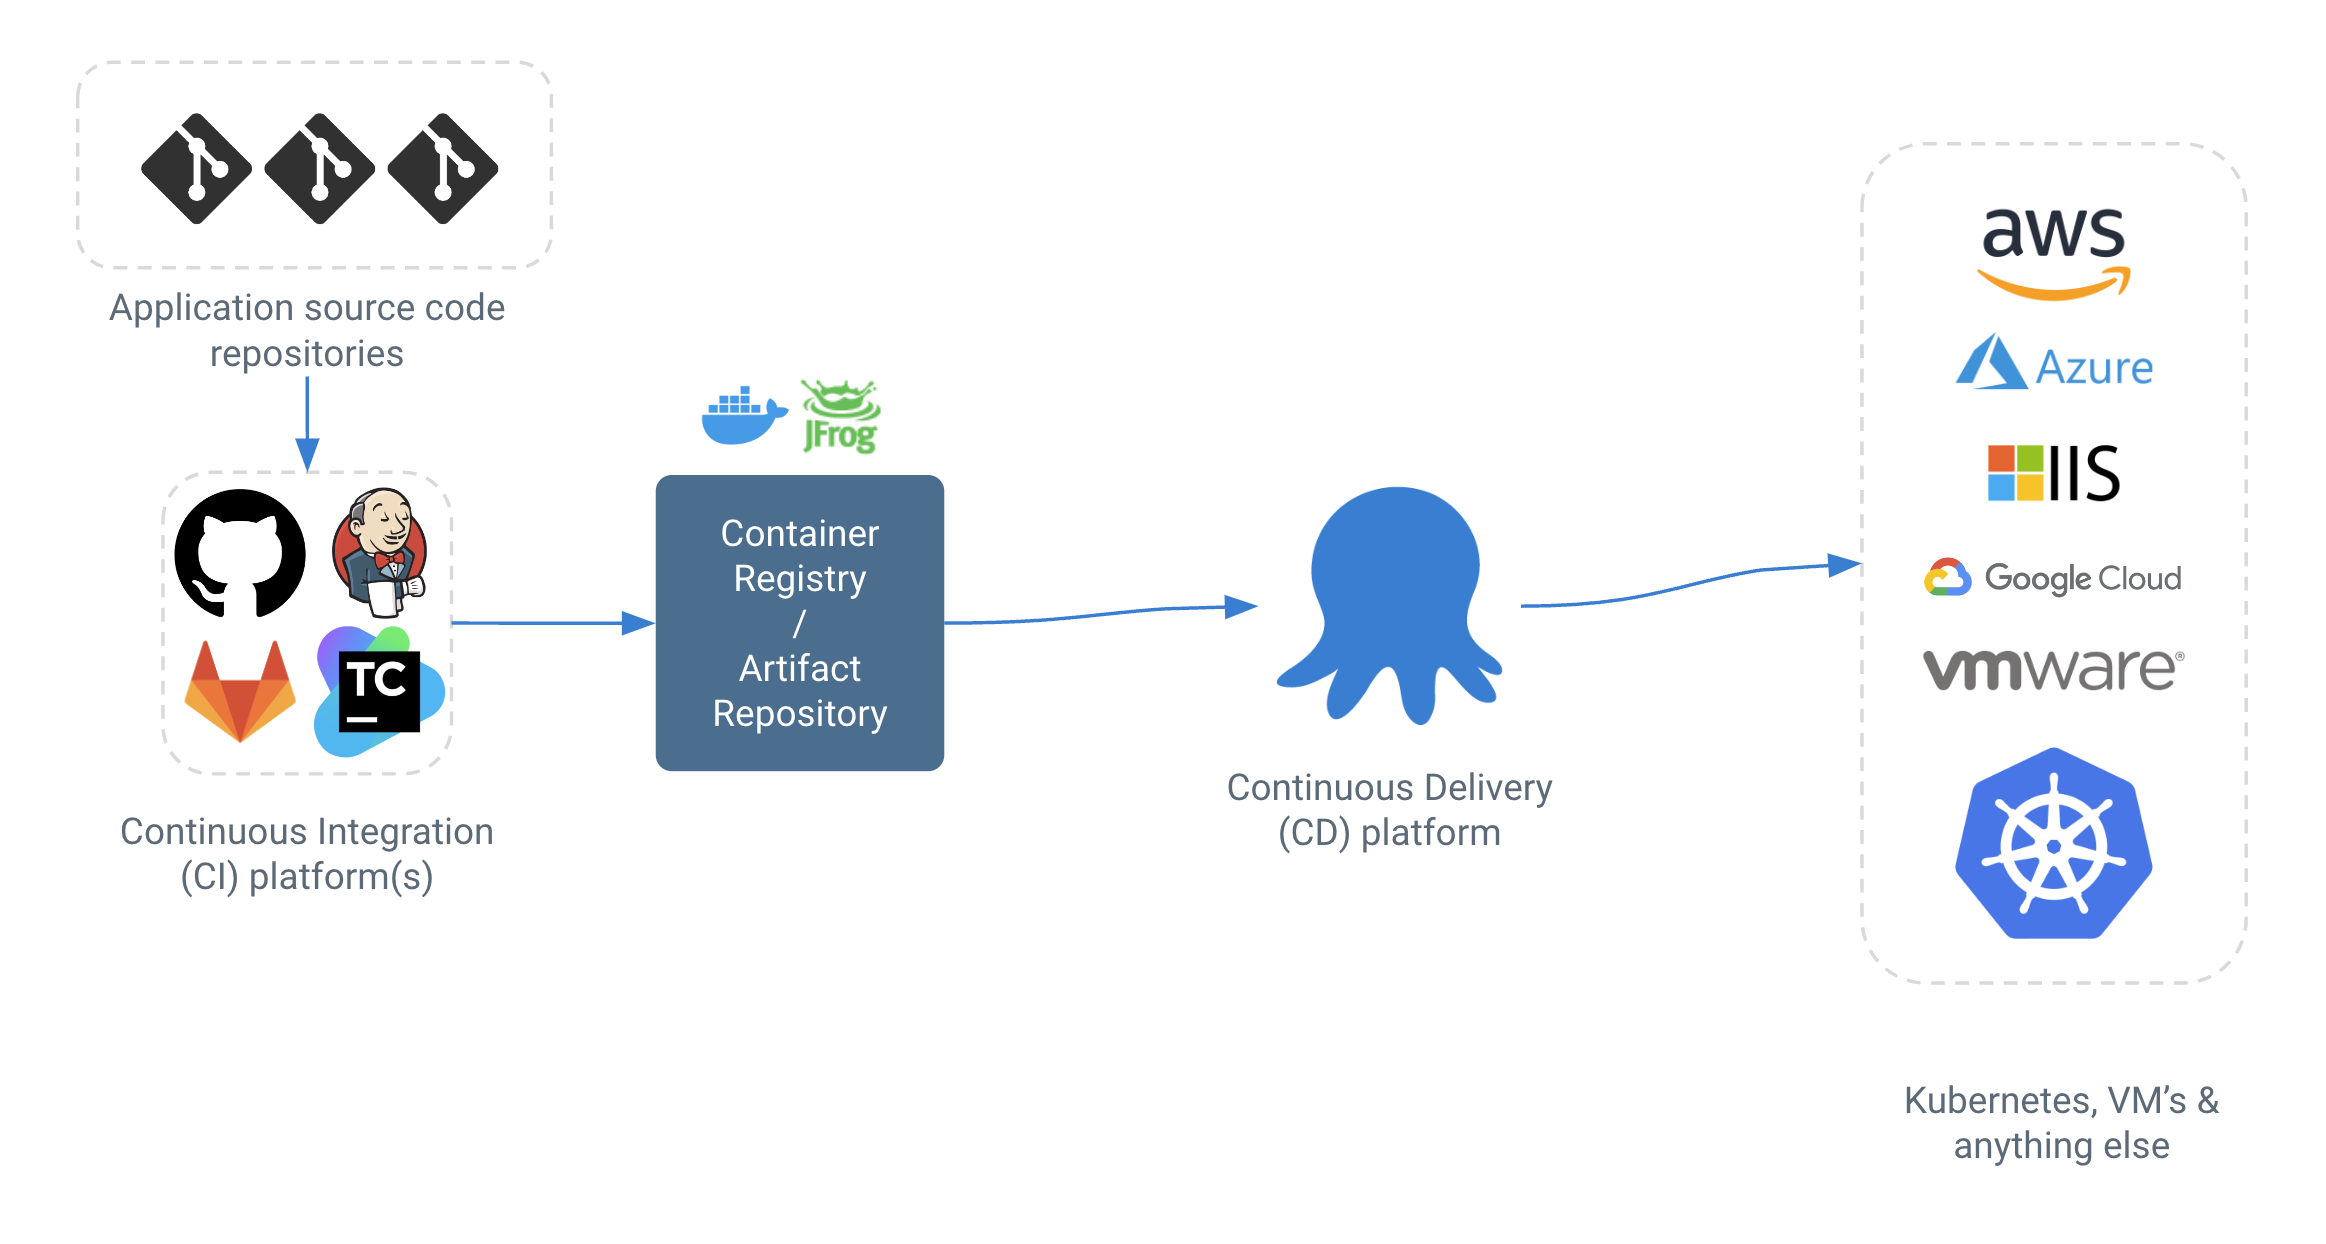
Octopus is designed as a dedicated, best-of-breed Continuous Delivery platform with a focus on releasing and deploying software, in the spirit of “do one thing, really well”. We don’t aim to solve the entire software delivery pipeline, but we focus on going deeper on release & deploy than any other solution.

Octopus assumes you already have a CI system up and running, and we provide first-class integrations with all major CI systems on the market. You’ll find guides for integrating Octopus with:
- GitHub Actions
- GitLab
- Circle CI
- Jenkins
- JetBrains TeamCity
- BuildKite
- Azure DevOps
The job of the CI system is to take source code and turn it into an artifact that can be deployed. To do this, CI systems monitor source control for changes, then run jobs like compiling code and running tests in order to give fast feedback to developers.
The final output of the CI system will be one or more packages or containers that are ready to be deployed. Containers are usually built and published to a Docker registry, usually the registry provided by the cloud you are deploying to.
Packages like ZIP or JAR files can be pushed directly to Octopus’s built in package repository. Alternatively, if you already have an external artifact repository like JFrog Artifactory, you can use that.
Projects, environments, and releases
The first page you will see in Octopus is called the Dashboard. Initially yours will be empty, but as you add start deploying applications, it will fill up.

The Dashboard shows the three main building blocks of Octopus.
Projects are the applications we deploy. In the image above, “Database”, “Product API”, and “Shopping Cart API” are the projects. A project has all the information needed to deploy an application - or often, a really large system composed of many applications that are delivered at the same time.
Environments are where we deploy the applications. In this case, Dev, Test and Production.
In the middle of the grid, you’ll see Releases. A Release is a bundle of all the things needed to deploy a specific version of an application. This might include:
- The container images or packages (artifacts produced from a CI build)
- The associated configuration and variables needed to configure the release for each environment
- A snapshot of the process that will be used to deploy the release, as the process may change in future releases
- Details on Jira tickets and Git commits that went into the release
Many releases get created for a project - often each time a CI build completes - and those releases can then be deployed to an environment. When a release is deployed to an environment, Octopus calls that a Deployment. Software teams often use release and deployment interchangeably, but in our opinion they have subtly different meanings.
Creating releases is normally done automatically at the end of a CI process using one of our CI integrations.
Deployment process
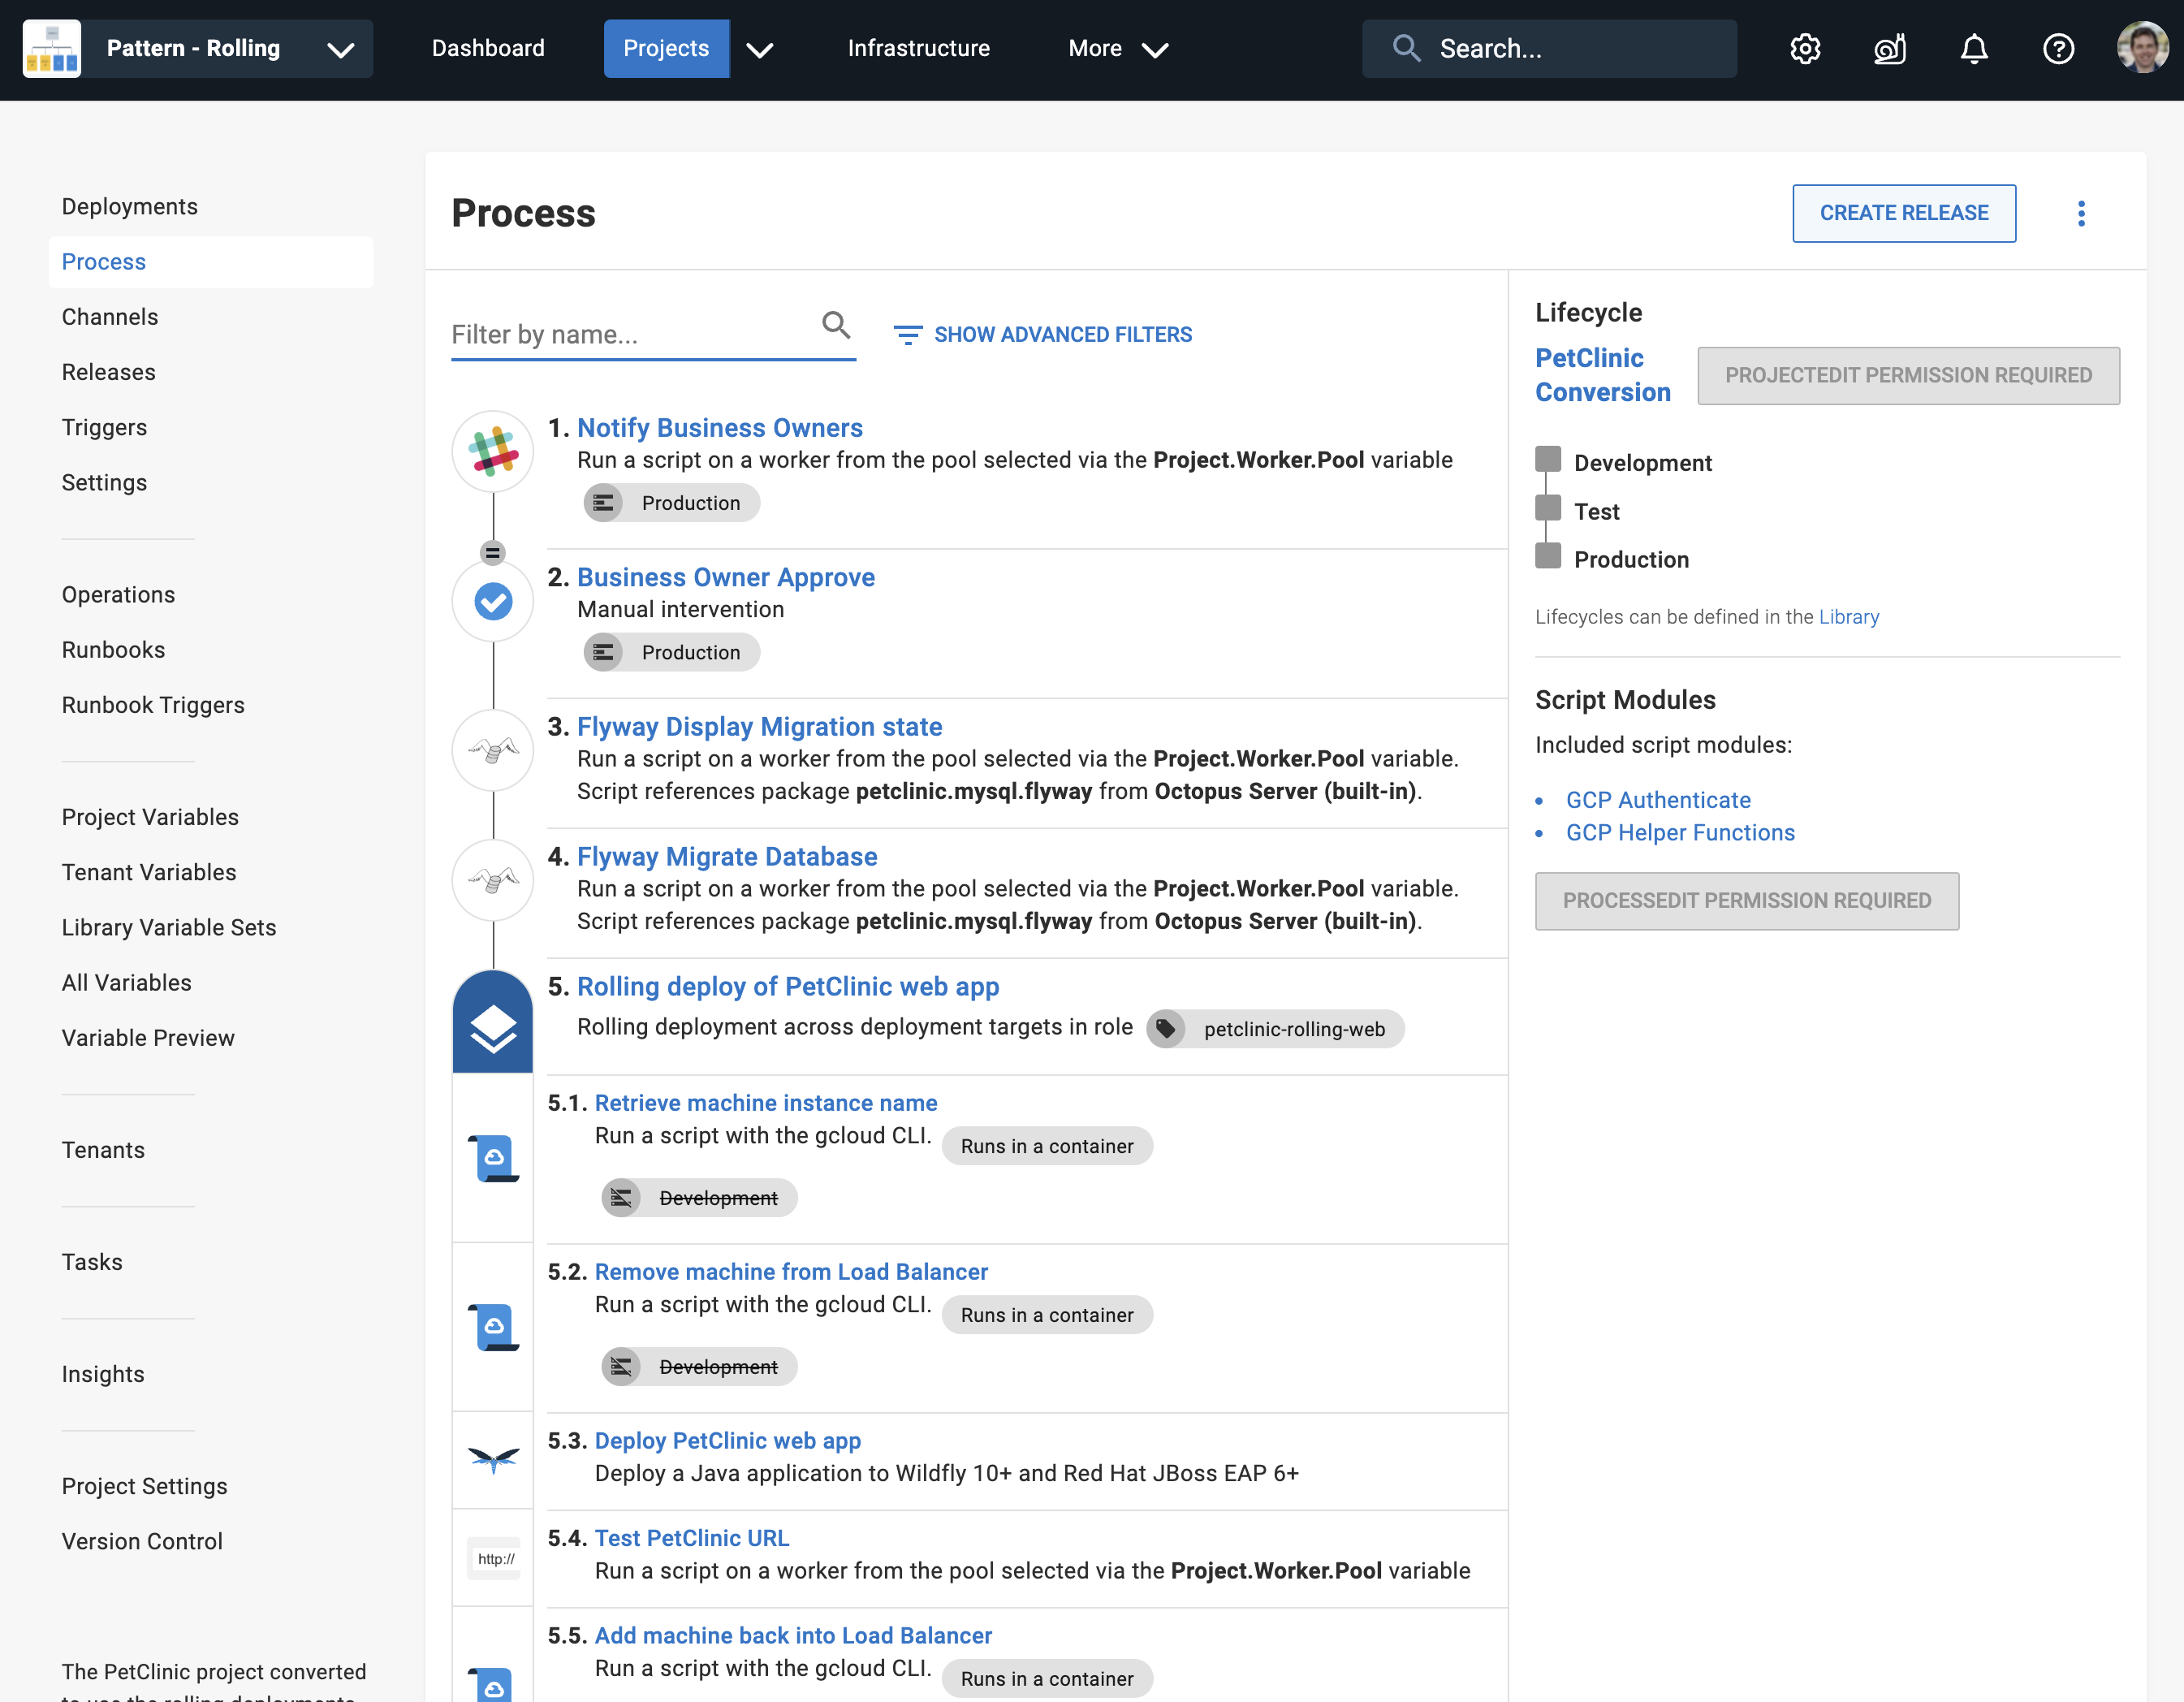
Inside each project, you’ll configure a Deployment Process. The deployment process is like the recipe for deploying the project - the steps that will be run.

Each step contains a specific action (or set of actions) that is executed as part of the deployment process each time your software is deployed. After the initial setup, your deployment process shouldn’t change between deployments even though the software being deployed will change as part of the development process.
Octopus Deploy provides a range of built-in step templates that can be included in your deployment processes. You can even create your own custom steps.
Learn more about the deployment process and see some example deployments.
The deployment process and many other parts of a project can be stored in a Git repository. Learn more about Config as Code.
Variables
As you deploy your applications between different environments, you’ll need to change their configuration files based on the scope of the deployment. Octopus has advanced support for managing and scoping variables. For instance, your test environment shouldn’t have access to your production database. Using variables, you can specify a different database for each environment, ensuring your production data won’t be impacted by codes changes that are still in review.

Learn more about variables and advanced configuration features.
Infrastructure
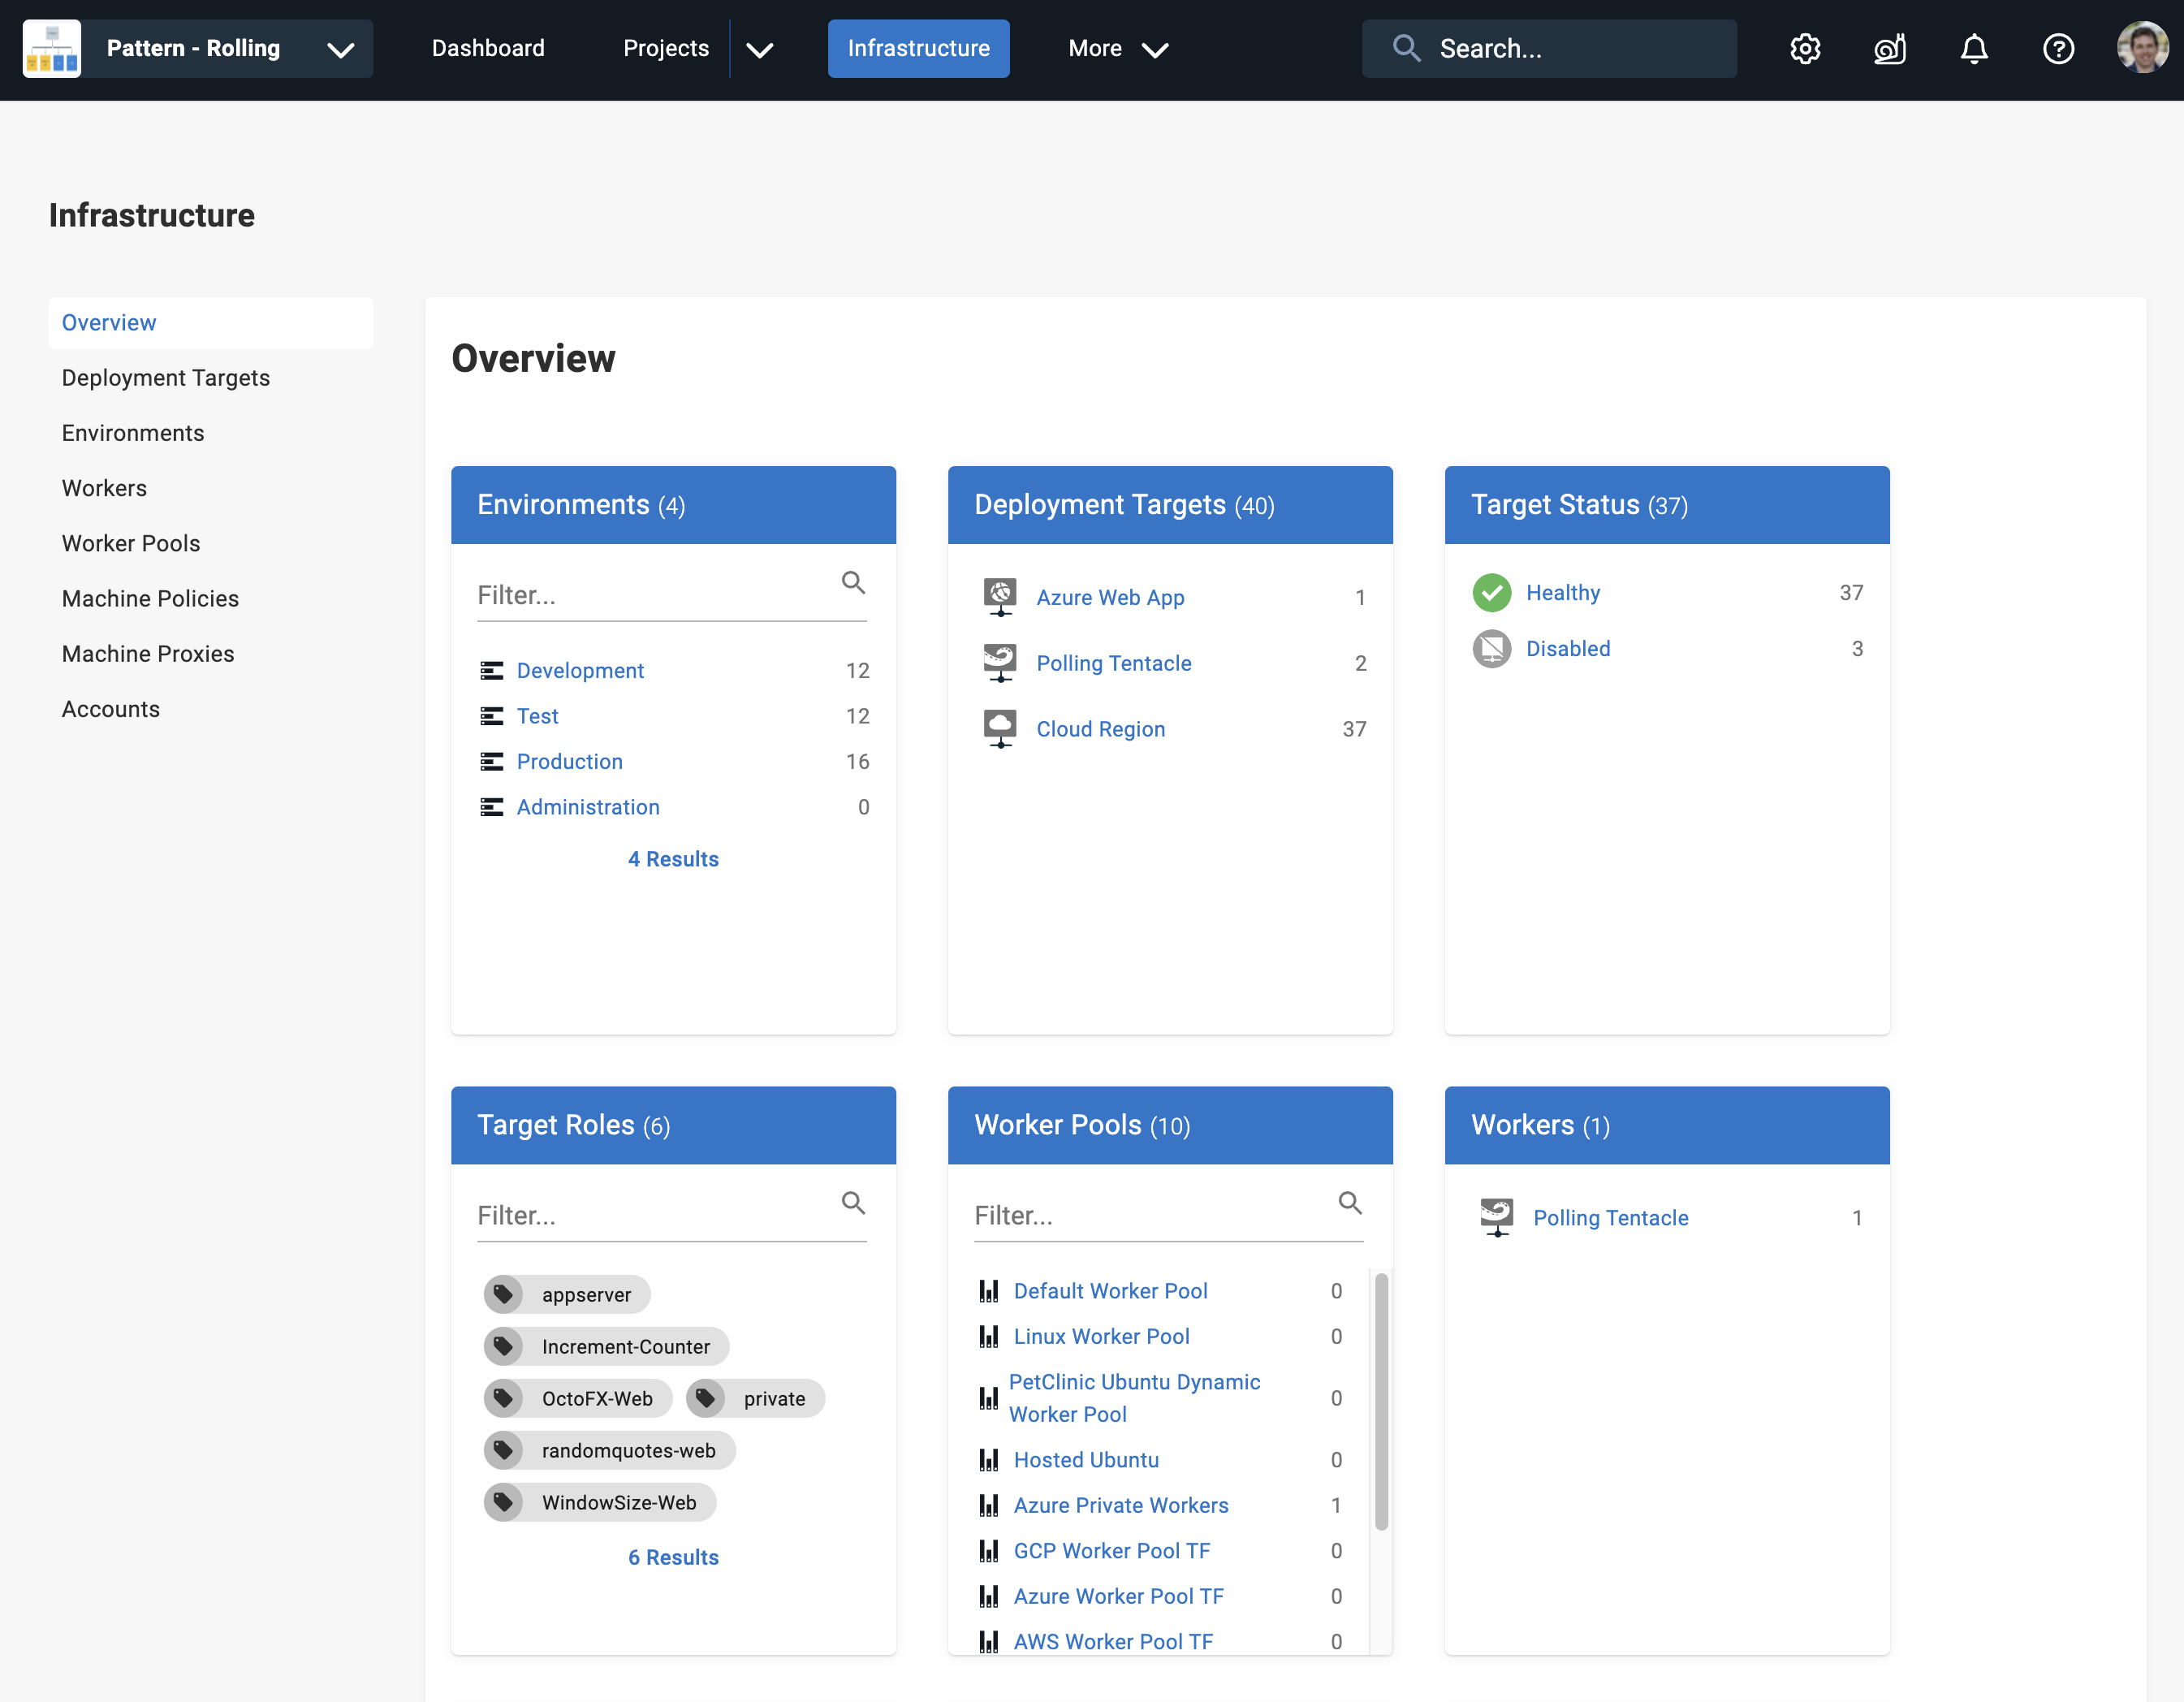
Octopus Deploy organizes your deployment targets (the machines and services you deploy software to) into groups called environments. Typical environments are Dev, Test, and Production.

Organizing your infrastructure into environments lets you define your deployment processes (no matter how many deployment targets are involved) and have Octopus deploy the right versions of your software, with the right configuration, to the right environments at the right time.
Learn more about managing your infrastructure.
Lifecycles
When you define a project, you also select a lifecycle. The lifecycle defines the promotion rules around how releases of the project are deployed between environments, which projects are deployed to which environments.
Lifecycles are defined by phases, each phase can have one or more environments, and each environment can be defined as an automatic deployment environment or a manual deployment environment. Each phase can have a set number of environments that must be released to before the next phase is available for deployment.
Learn more about lifecycles.
Runbook automation
A deployment is only one phase in the life of an application. There are many other tasks that are performed to keep an application operating - often called “Day 2”.
Octopus Runbooks live inside a Project, and can be used to automate routine maintenance and emergency operations tasks like infrastructure provisioning, database management, and website failover and restoration.
They can also be used to grant application developers the ability to do special things like “restart a Kubernetes pod that has frozen”, without giving them direct production cluster access.
Learn more about Octopus Runbooks.
Tenants
Tenants in Octopus allow you to easily create customer specific deployment pipelines without duplicating project configuration.
One example of using Tenants would be when your application is a SaaS platform, where each Tenant has their own running instance of your application, possibly with their own infrastructure. A Tenant allows you to model the infrastructure that belongs to the customer, as well as customer-specific configuration variables, and use that data across multiple projects.
Another example where Tenants come in handy is “edge” scenarios, where you deploy software to many remote locations - for example, restaurants around the country, or retail stores around the world, where each store has their own servers or MicroK8s cluster that you will be deploying to.
If a project uses tenants, a release can be deployed to all tenants, a single tenant, or a group of tenants using tags.
Learn more about tenants.
Spaces
If you’re a large organization with lots of teams working in Octopus, you can use the Spaces feature to provide each of your teams with a space for the projects, environments, and infrastructure they work with, while keeping other teams’ assets separate in their own spaces.
Learn more about Octopus Spaces.
Help us continuously improve
Please let us know if you have any feedback about this page.
Page updated on Friday, May 24, 2024